
3D Printing
NinjaSlice 3D
NinjaSlice 3D is a self-contained 3D printer and enclosure modeled after the popular Prusa i3 and its many clones. I created this 3D printer to enable rapid prototyping in my design work and to exercise my design, machining, and electronics skills.
The heated build plate, adjustable build surface material, enclosure, and direct MK8 extruder system have allowed me to print a wide range of materials including PLA, ABS, PETG, HIPS, PVA and TPU. Depending on the most appropriate surface for the current print’s filament type, I can alternate between glass, aluminum, and PEI build surfaces with whatever adhesive additives such as glue, hairspray, or ABS slurry may be appropriate.
The heated build plate and enclosure also limit warping, which proves critical for materials with high thermal coefficients such as ABS. A direct, overhead filament loading scheme from spool holders resting on the top of the enclosure ensures a steady filament flow rate while an air filtration system limits VOC and ultra-fine particle emissions.
Prints
Prints by NinjaSlice 3D of publicly available models. Sliced using Simplify3D and Cura 2.4
All prints shown here are licensed under Creative Commons - Attribution or Creative Commons - Attribution - Non-Commercial licenses and are credited accordingly. I do not claim any ownership of these designs but retain the rights to these images under the Creative Commons - Attribution - Non-Commercial license agreement. These prints are meant to demonstrate my understanding of the use, maintenance, and enhancement of 3d printers and their associated control software as well as post-processing techniques.
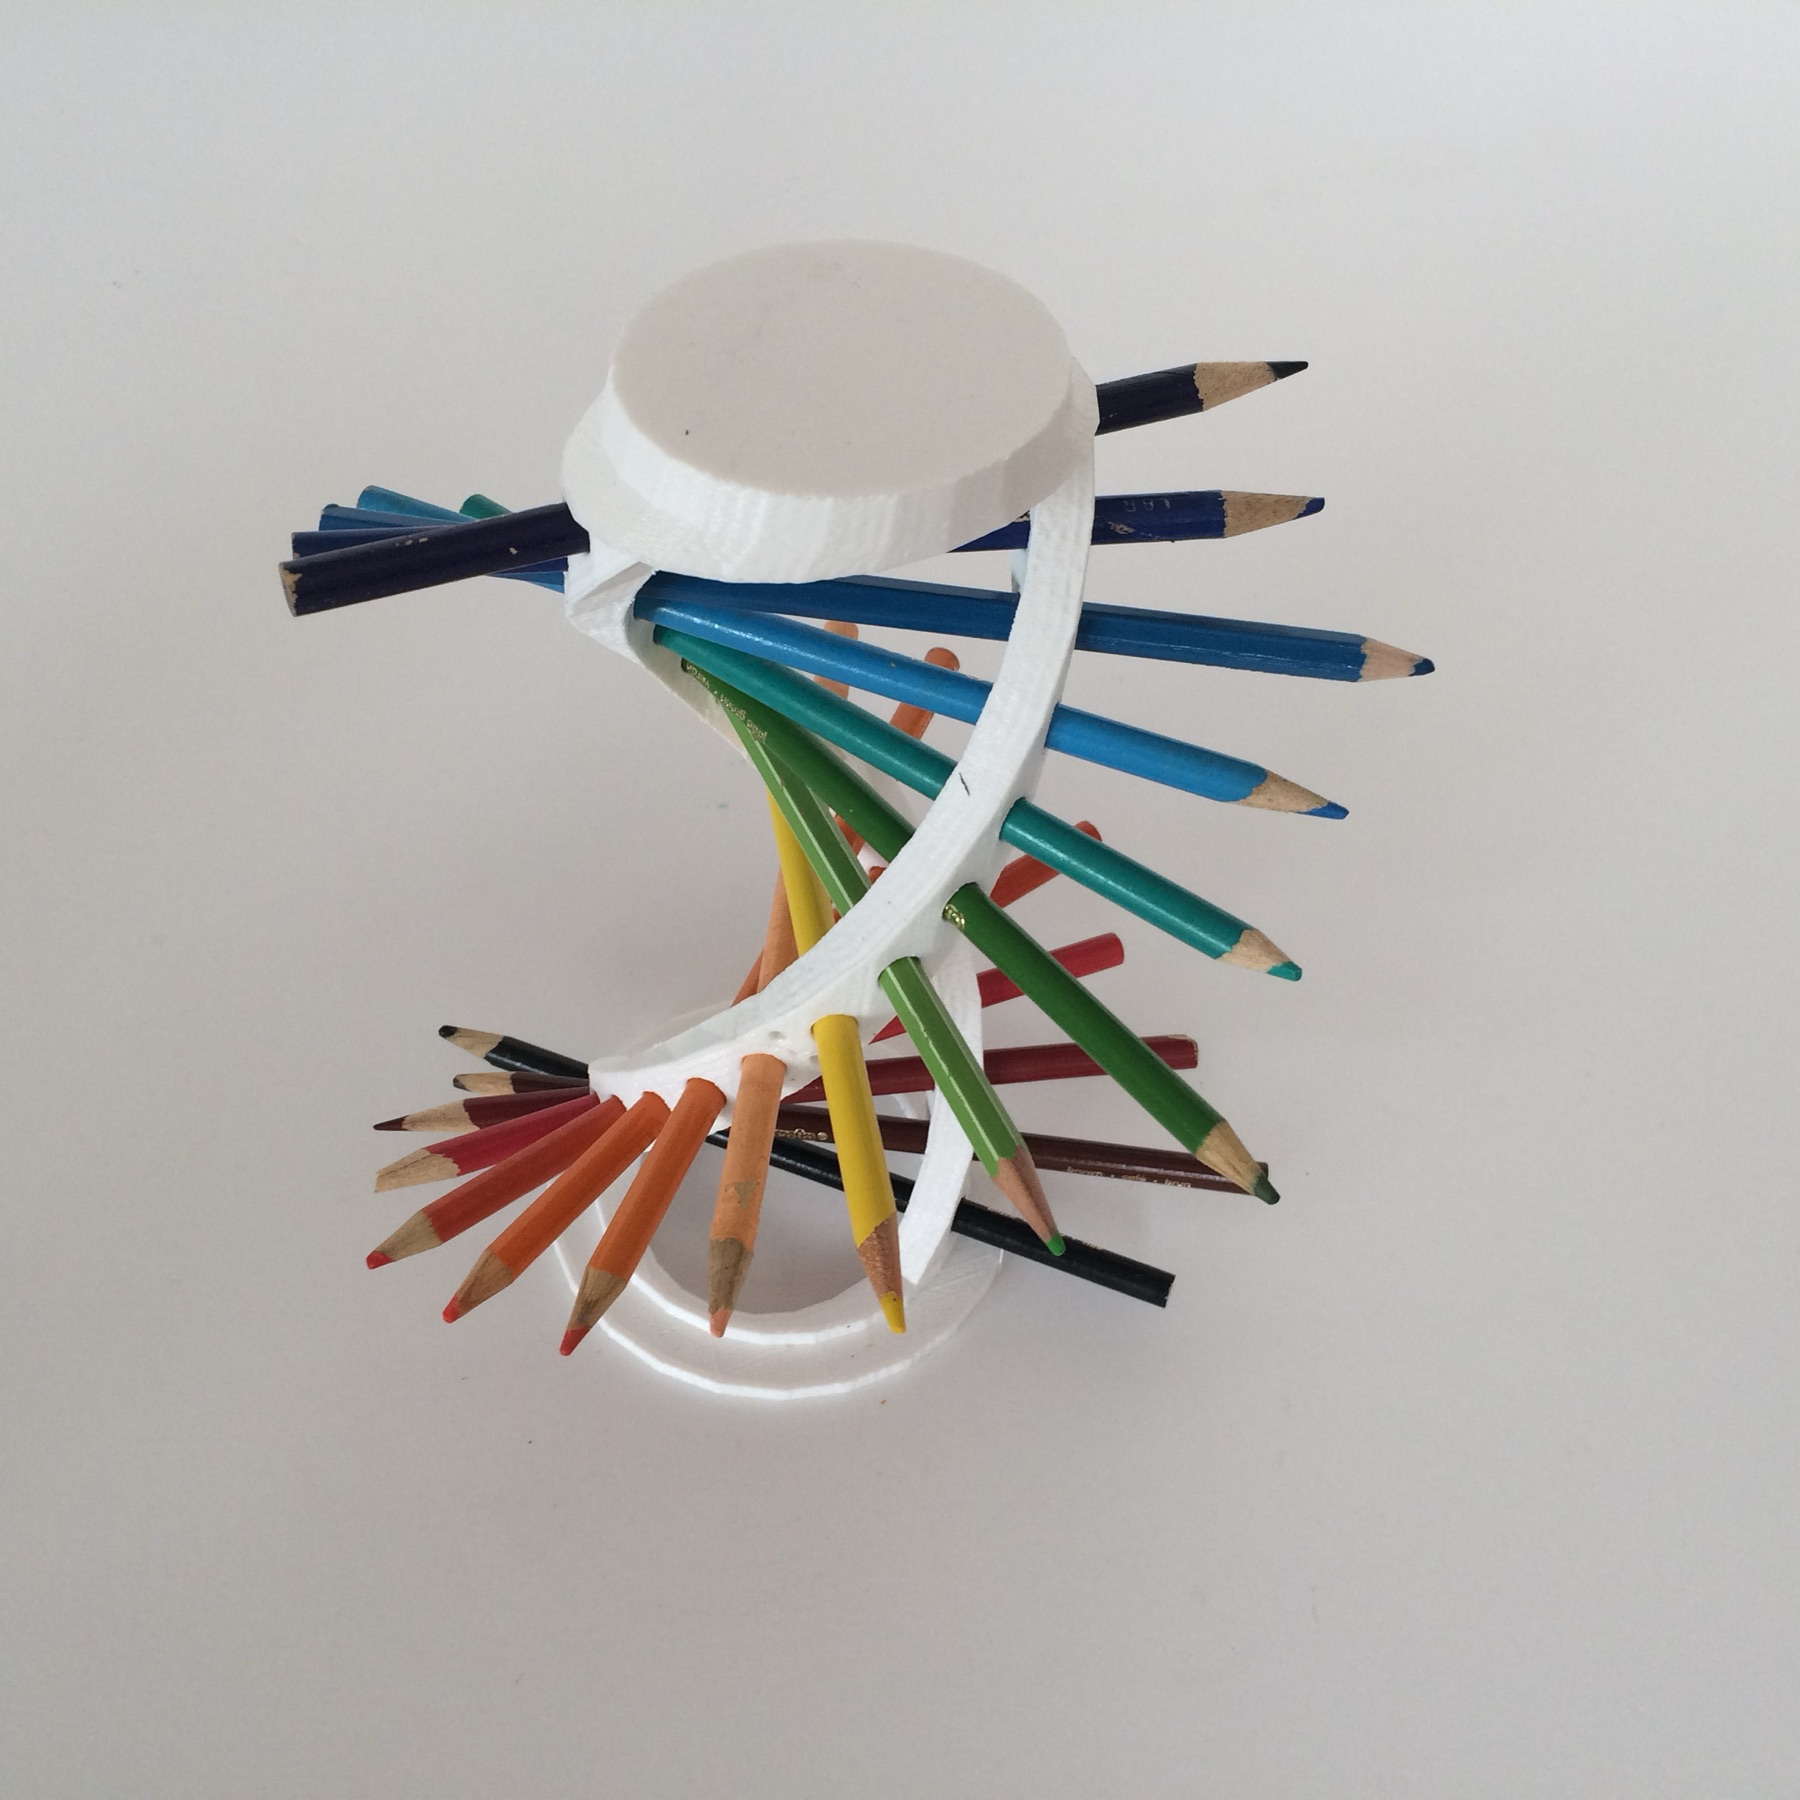
Pencil Holder design by Thingiverse user Jimbotron
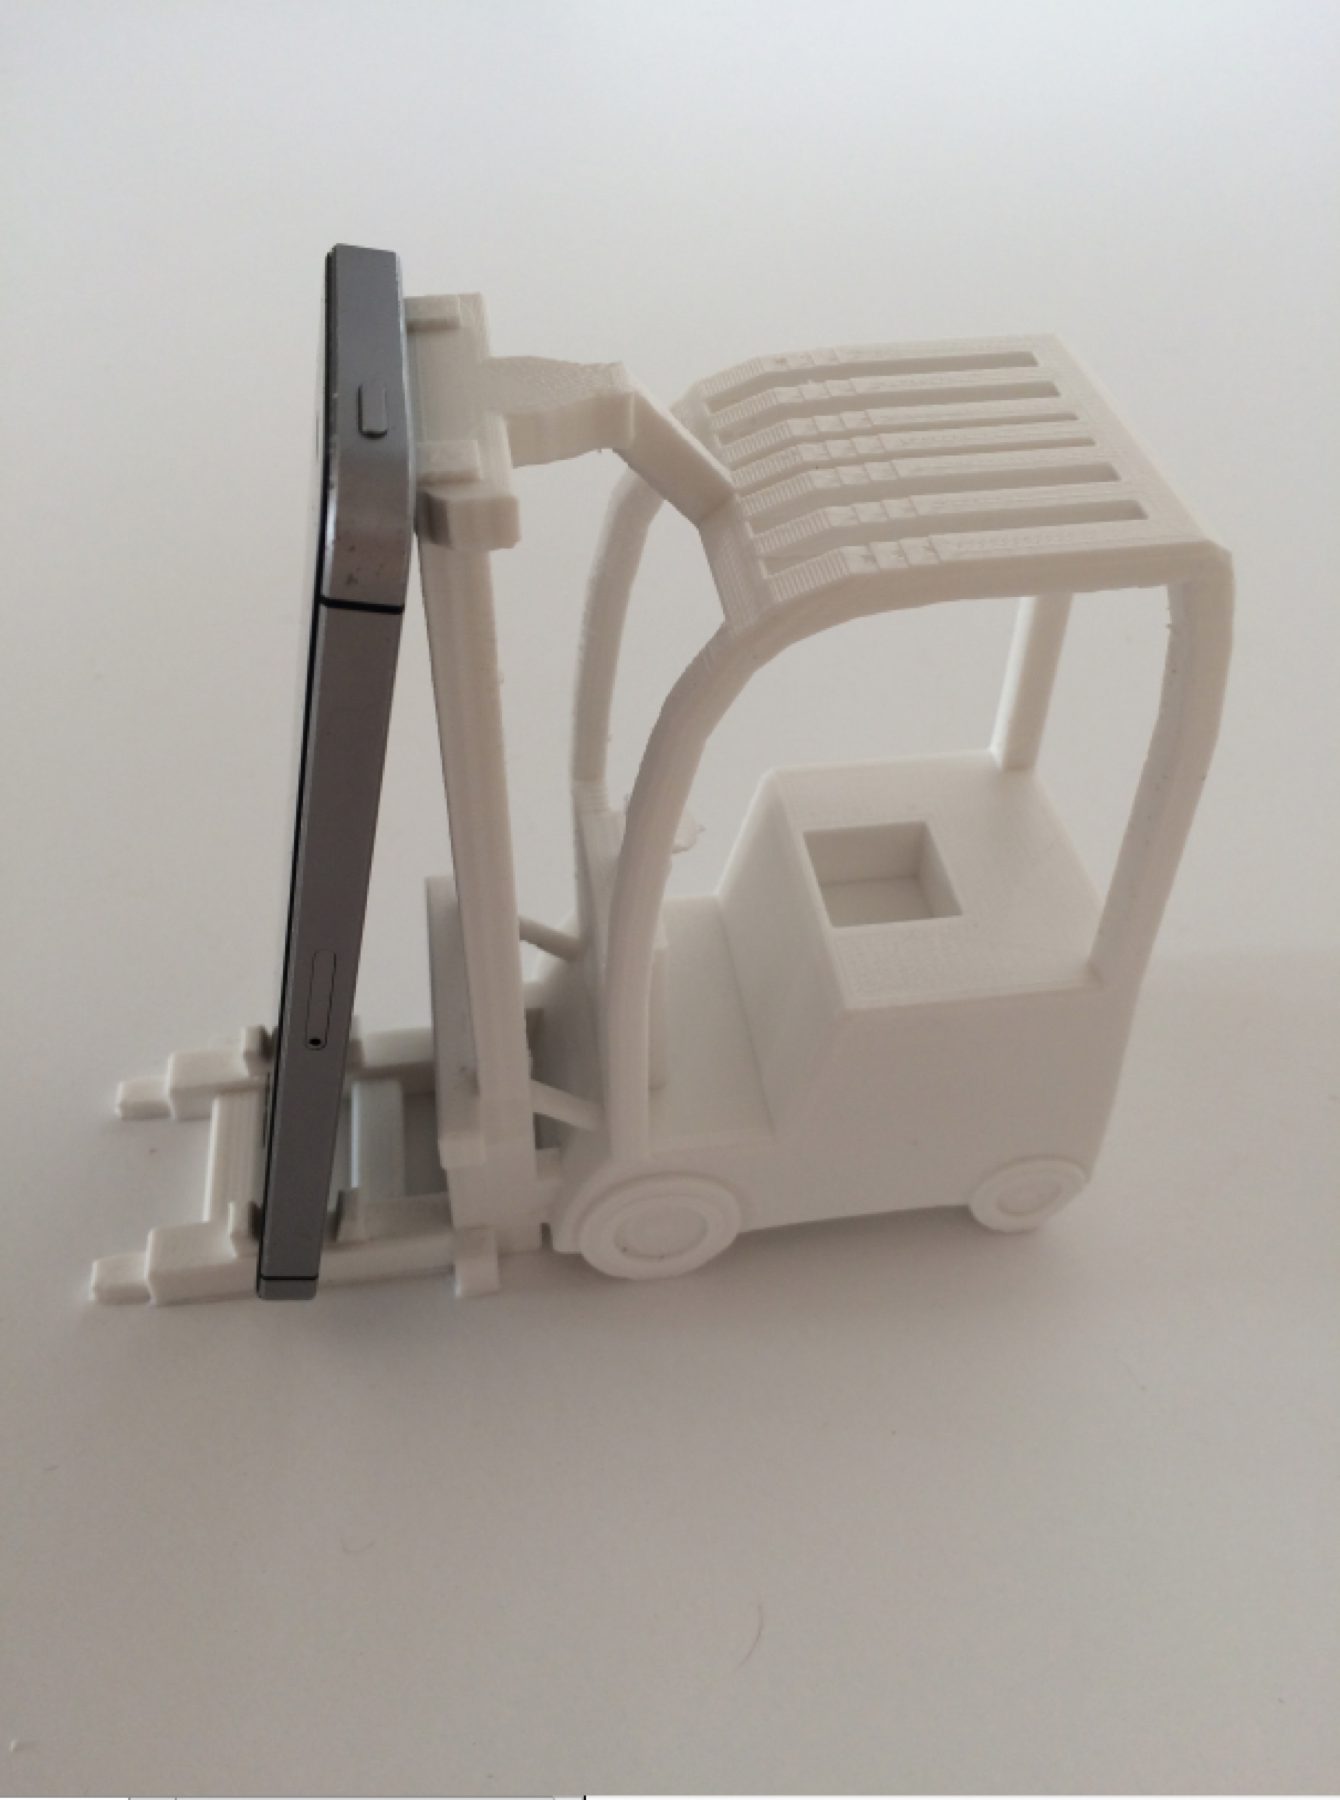
Phone Holder design by Thingiverse user Unfilterd
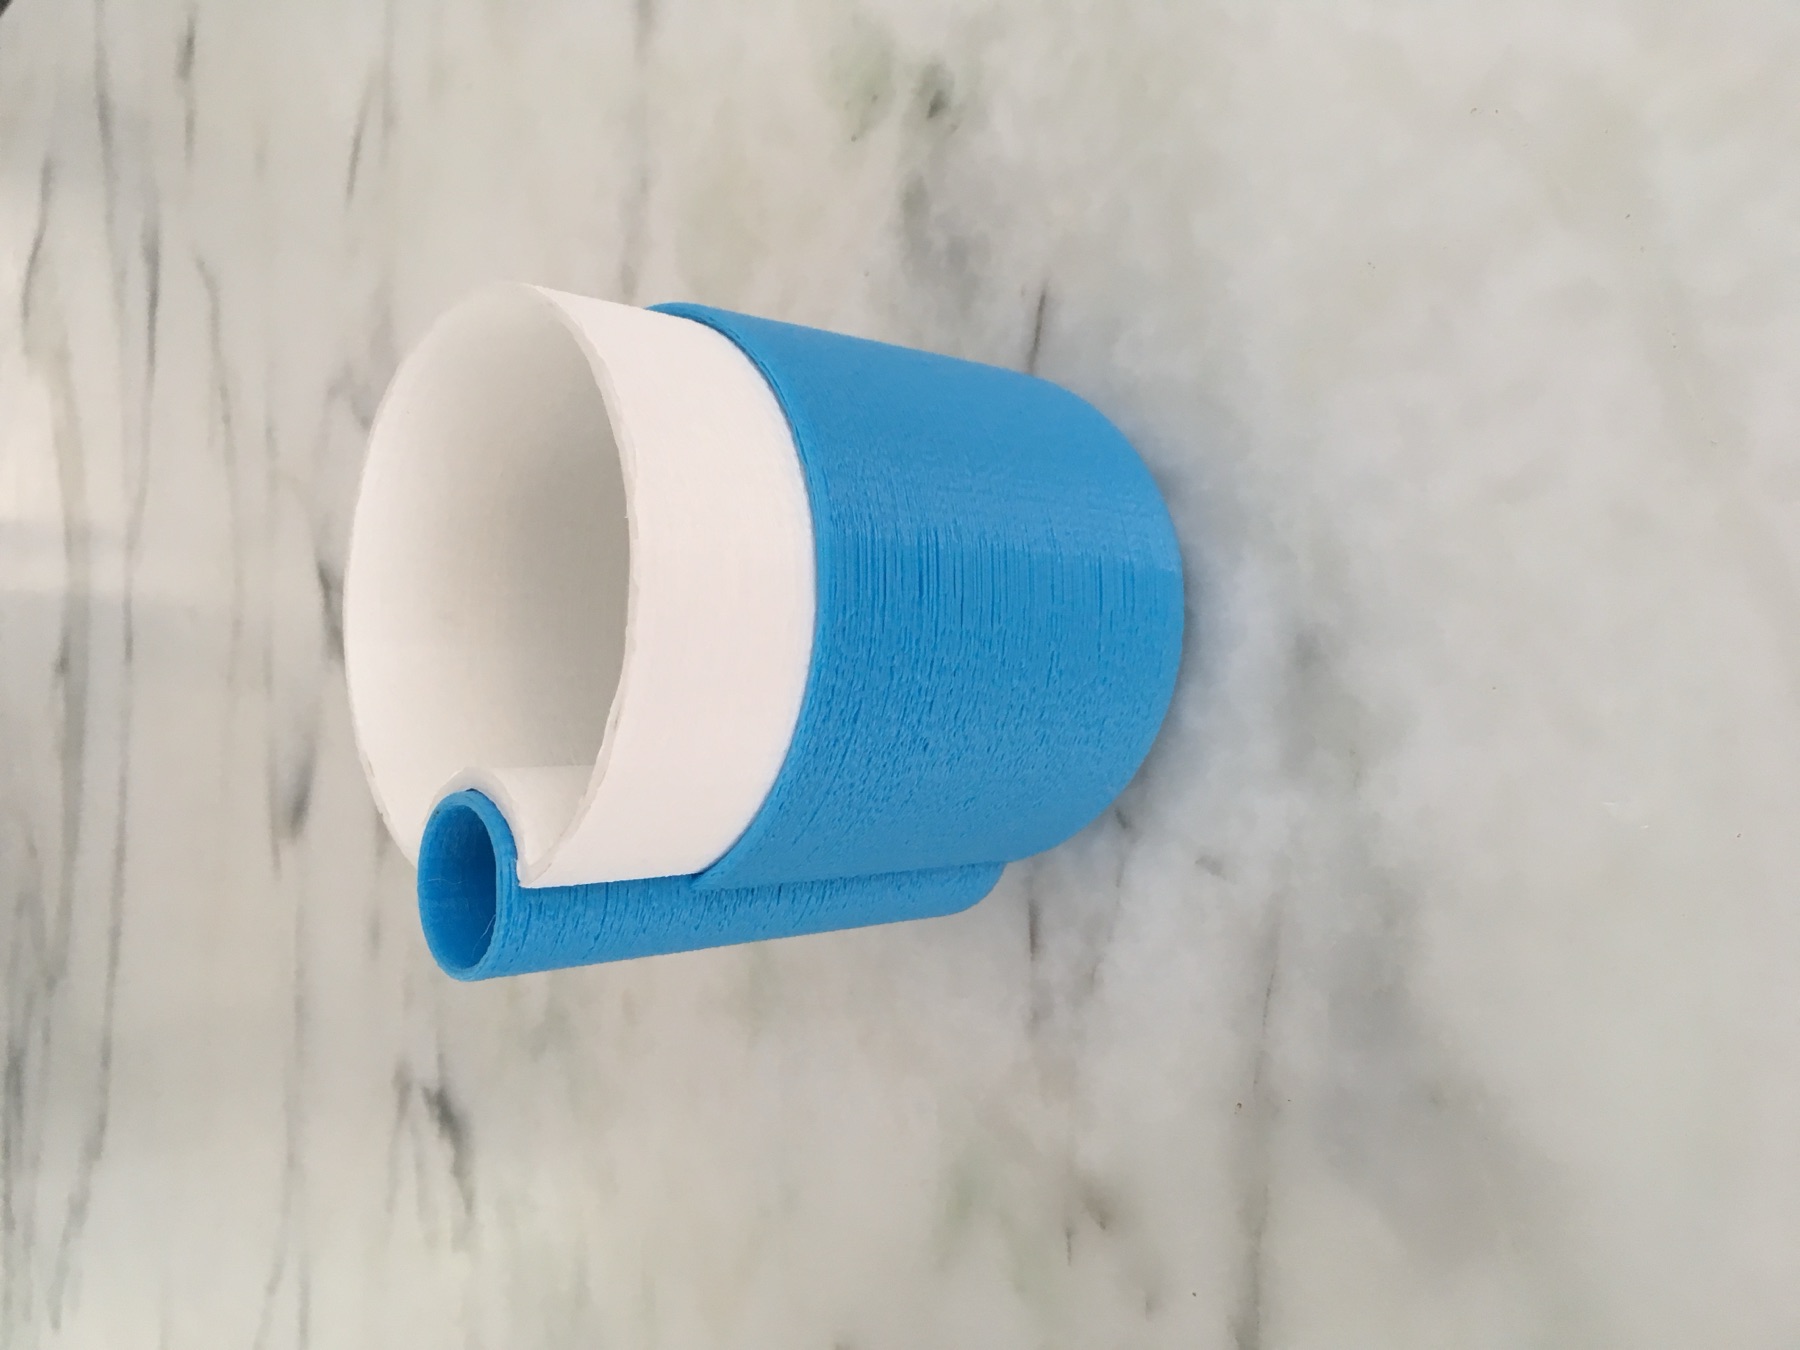
Waterer design by Thingiverse user Parallel Goods
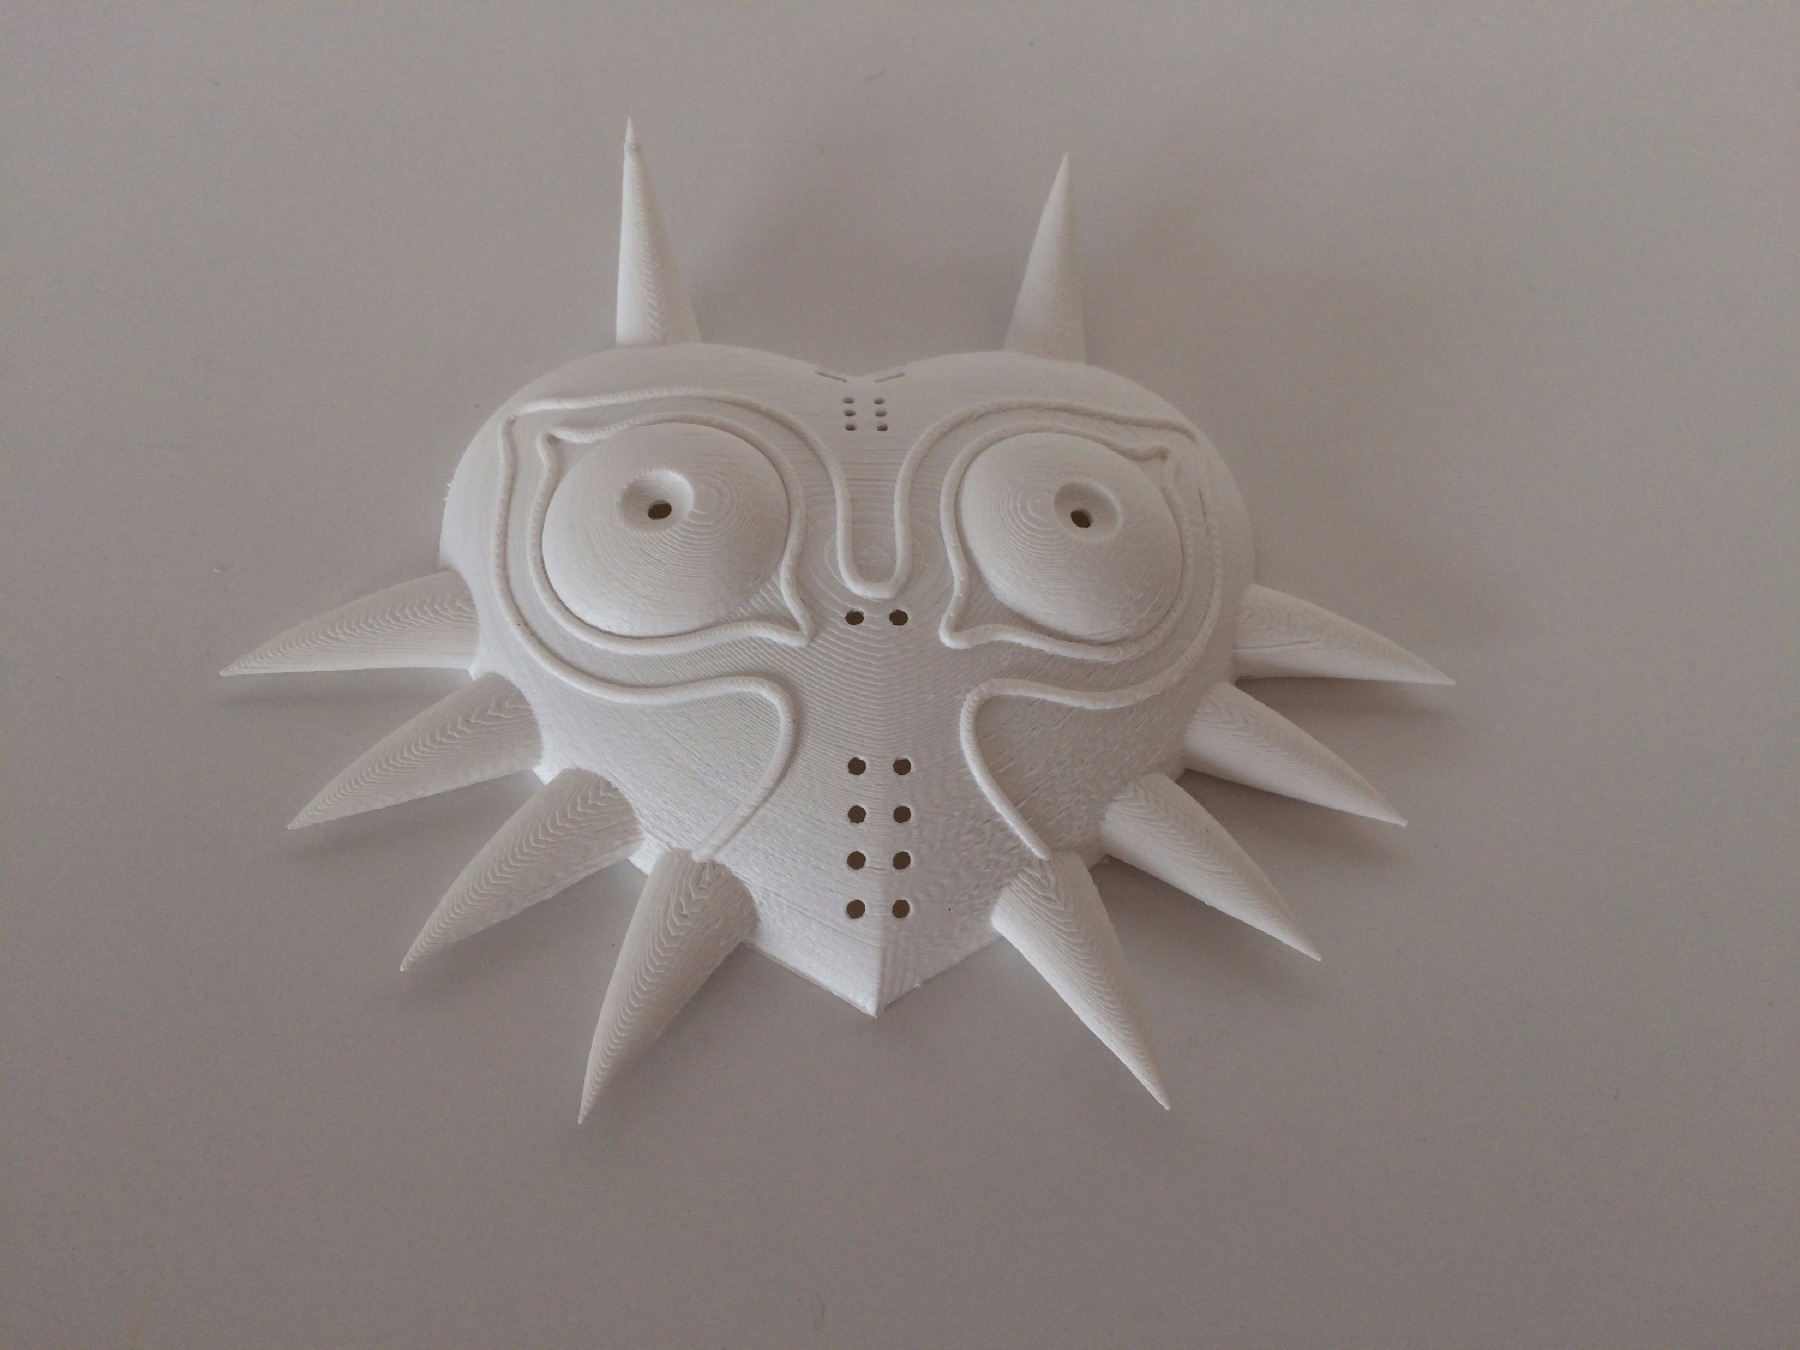
Majora’s Mask design by Thingiverse user ferreusveritas
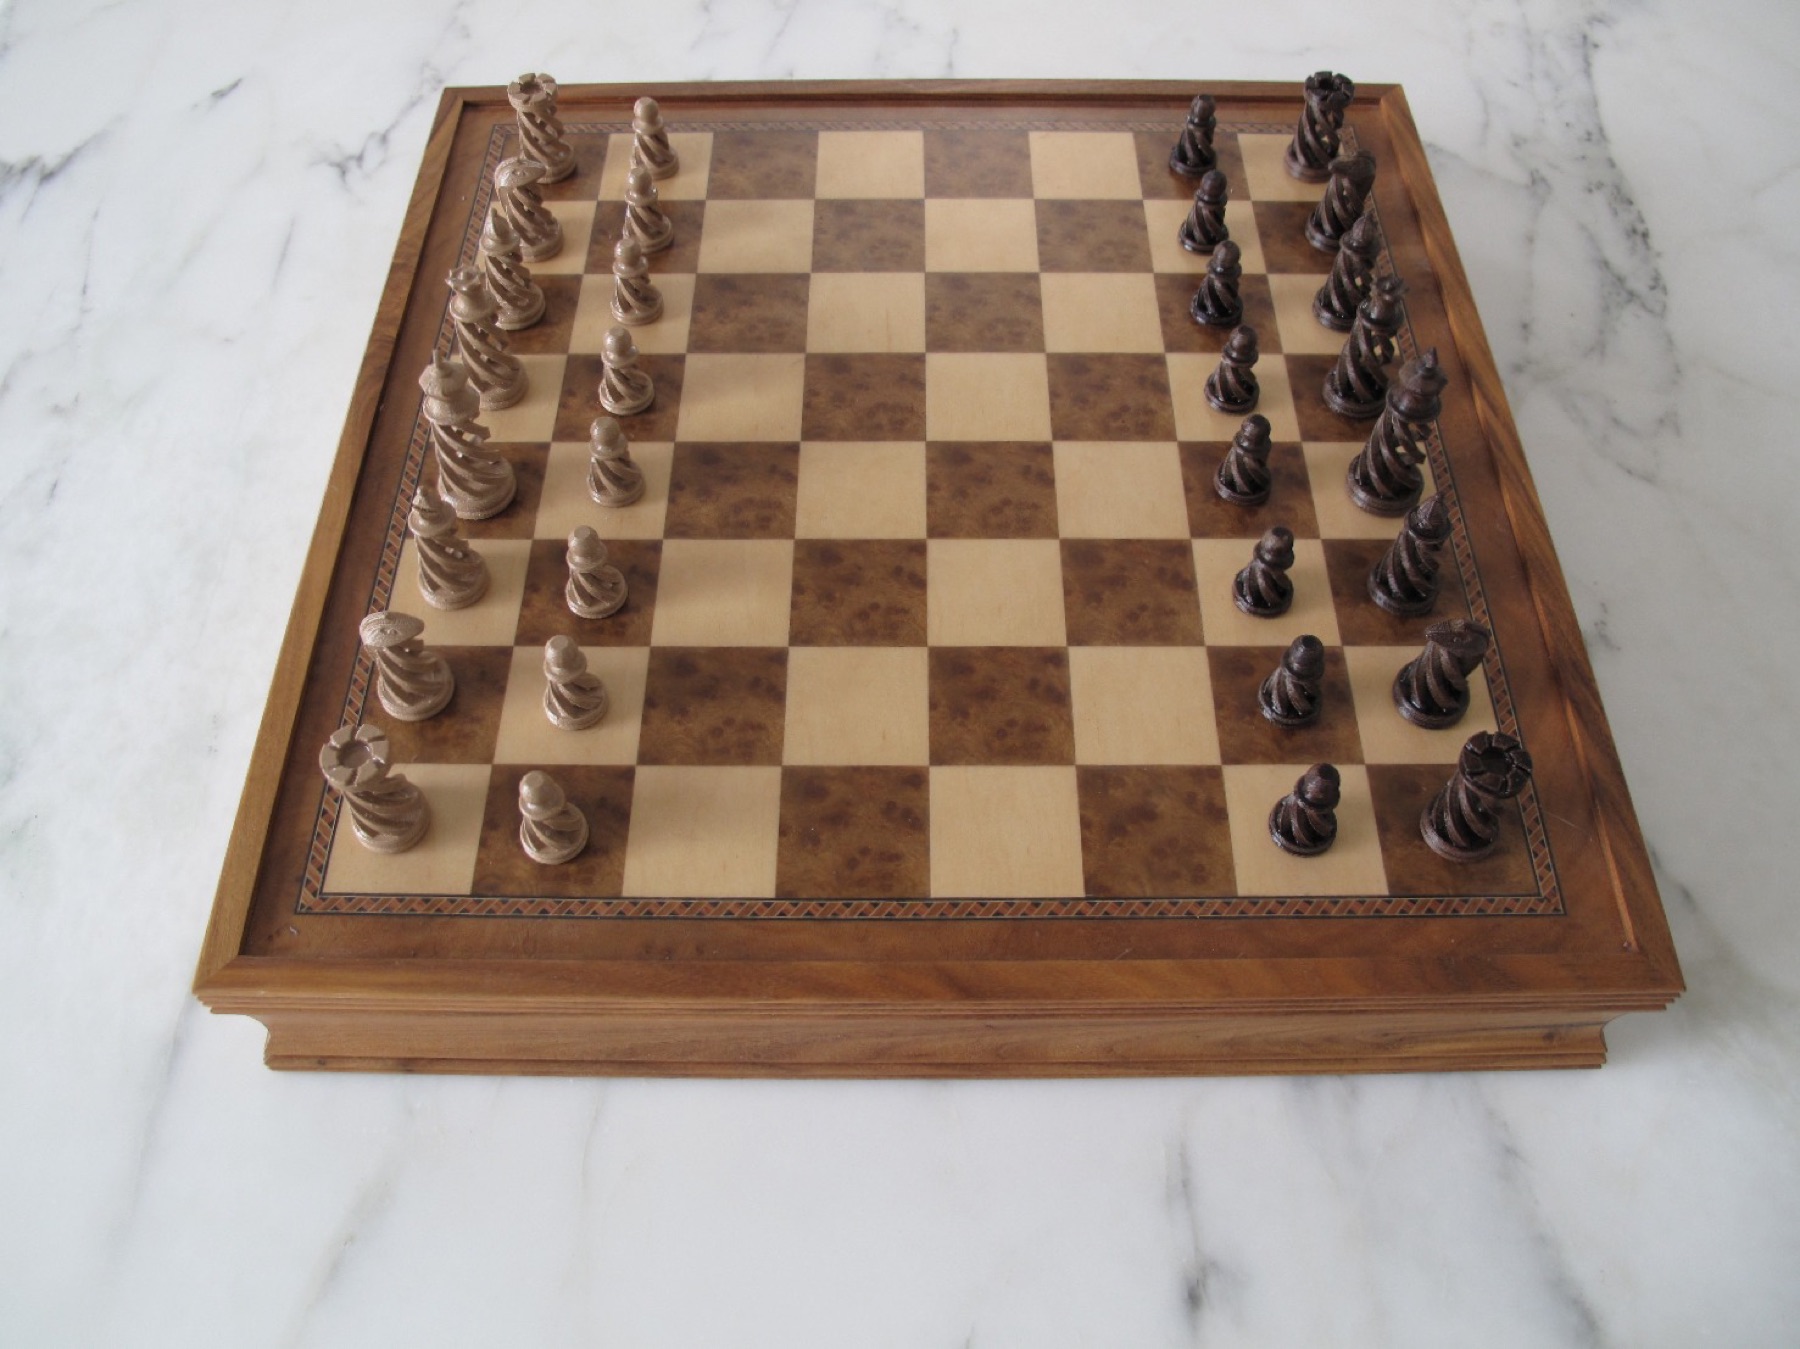
Chess design by Thingiverse user BigBadBison
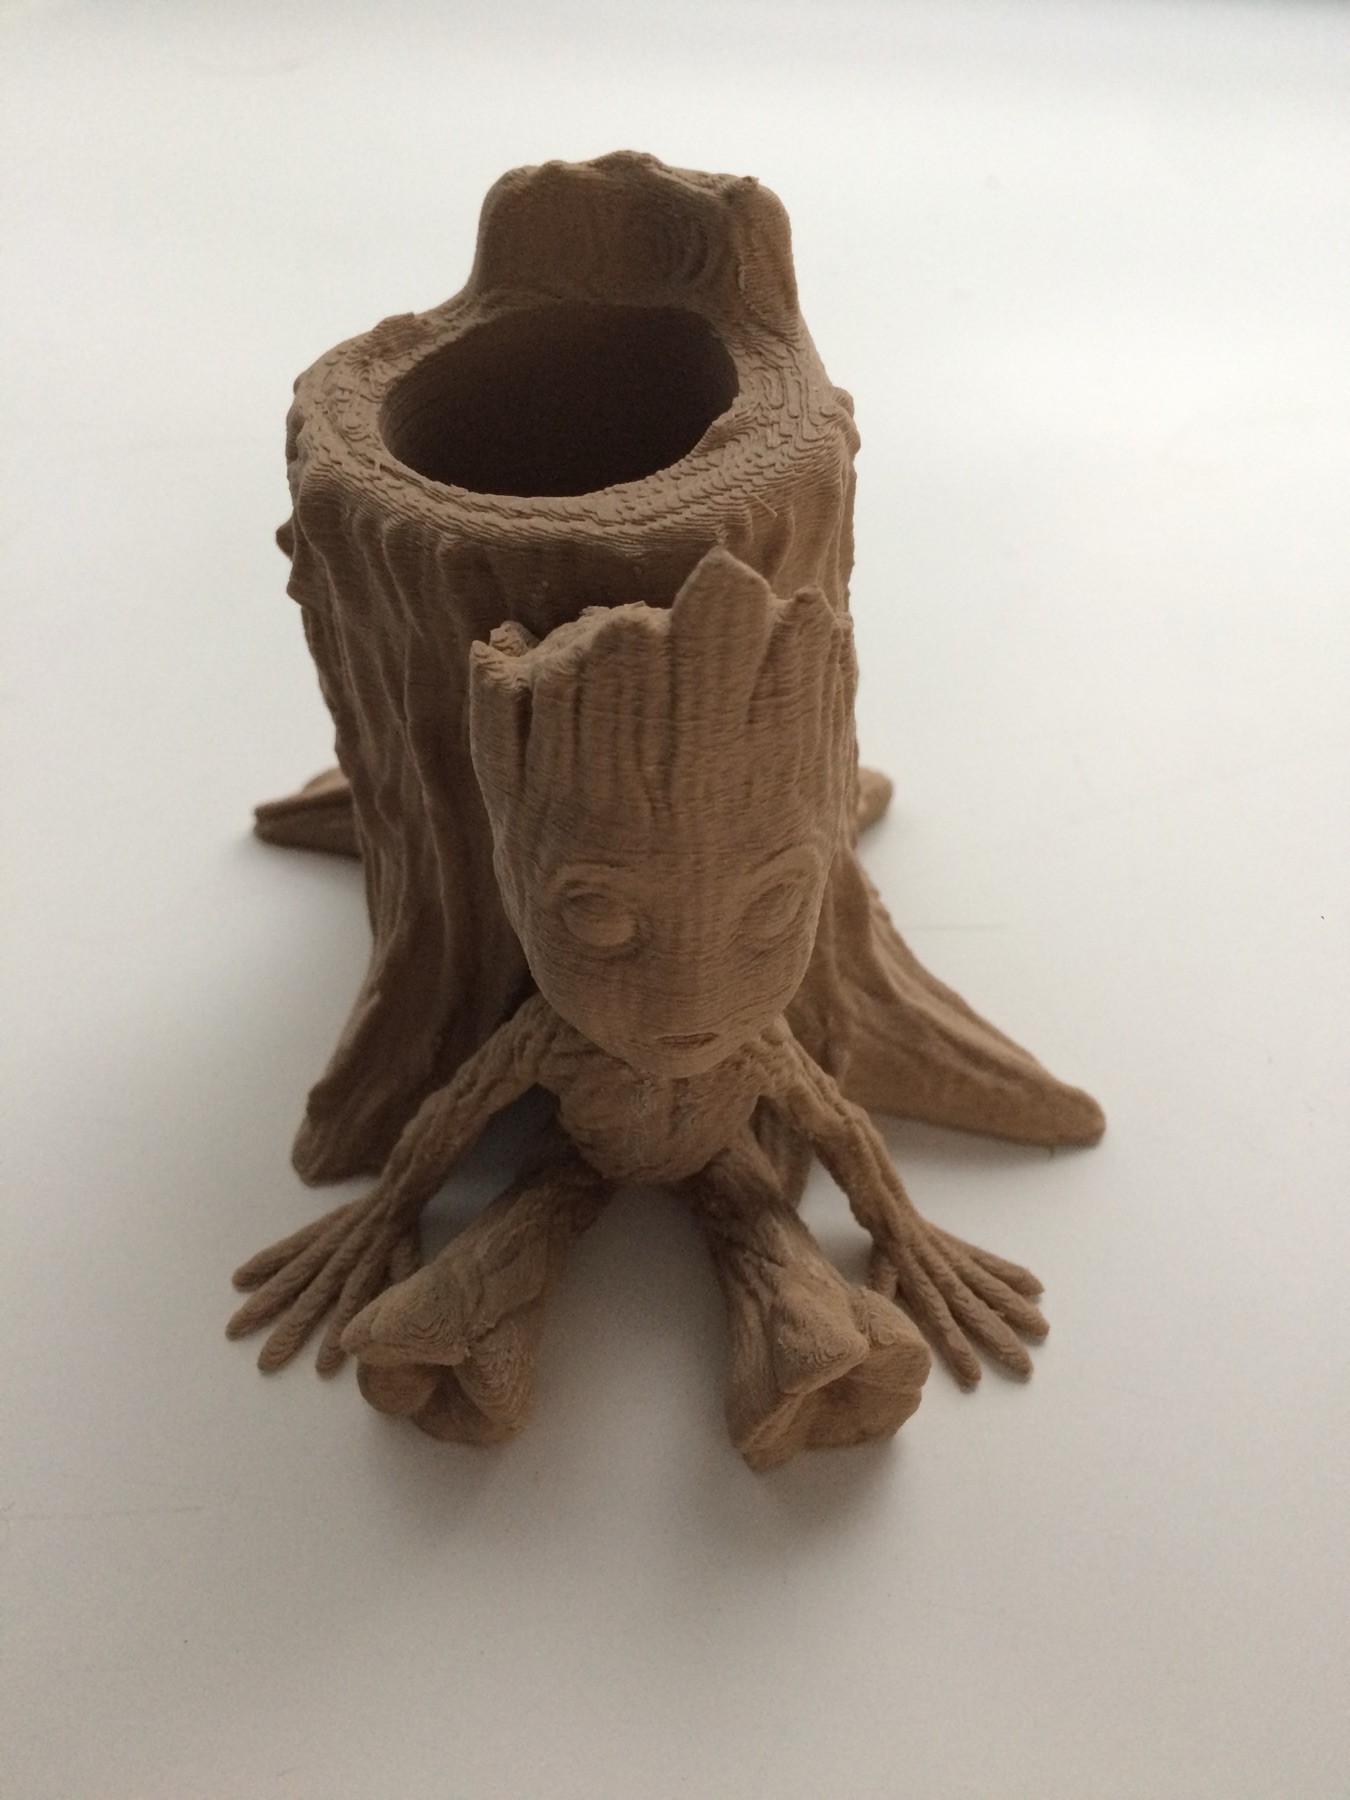
Pencil Holder design by Thingiverse user Caleb6543
Qidi Tech 1
The Qidi Tech 1 is a dual-extrusion FDM printer directly modeled after the Makerbot Replicator 2.
I purchased the Qidi Tech I to allow use of a greater range of printing materials that would further enable my design and prototyping while also increasing my manufacturing capabilities to keep pace with demand.
I have replaced the standard extrusion system with the Flexion dual bundle and a pair of hardened steel hotends, which expand the range of usable filaments from those listed above to include high temperature and abrasive filaments such as polycarbonate, nylon, and wood-filled and strontium-aluminate PLAs.
The flexion extruder system also enables printing of flexible filaments at high speeds and flow rates that would cause extrusion failures in other systems. I have installed an enclosure for temperature control and an overhead filament feed system for consistent filament feed. A fume extractor is also available for use with some materials, although the printer resides in an outdoor shed that I constructed specifically to mitigate any exposure concerns.
Prints
Prints by Qidi Tech I of publicly available models. Sliced using Simplify3D and Cura 2.4
All prints shown here are licensed under Creative Commons - Attribution or Creative Commons - Attribution - Non-Commercial licenses and are credited accordingly. I do not claim any ownership of these designs but retain the rights to these images under the Creative Commons - Attribution - Non-Commercial license agreement. These prints are meant to demonstrate my understanding of the use, maintenance, and enhancement of 3d printers and their associated control software.
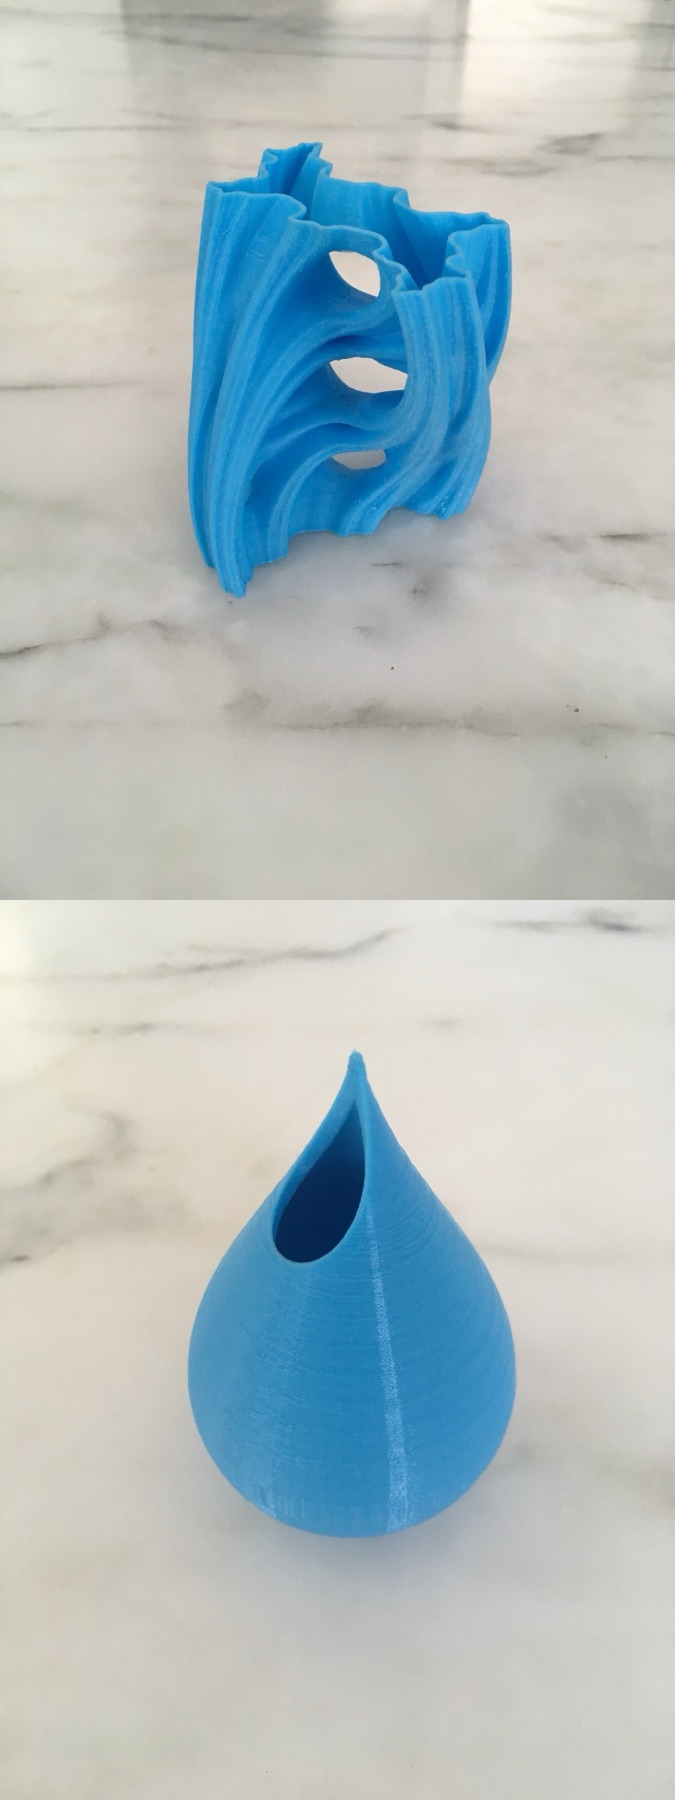
Aqua Julia Vase design by Thingiverse user Virtox
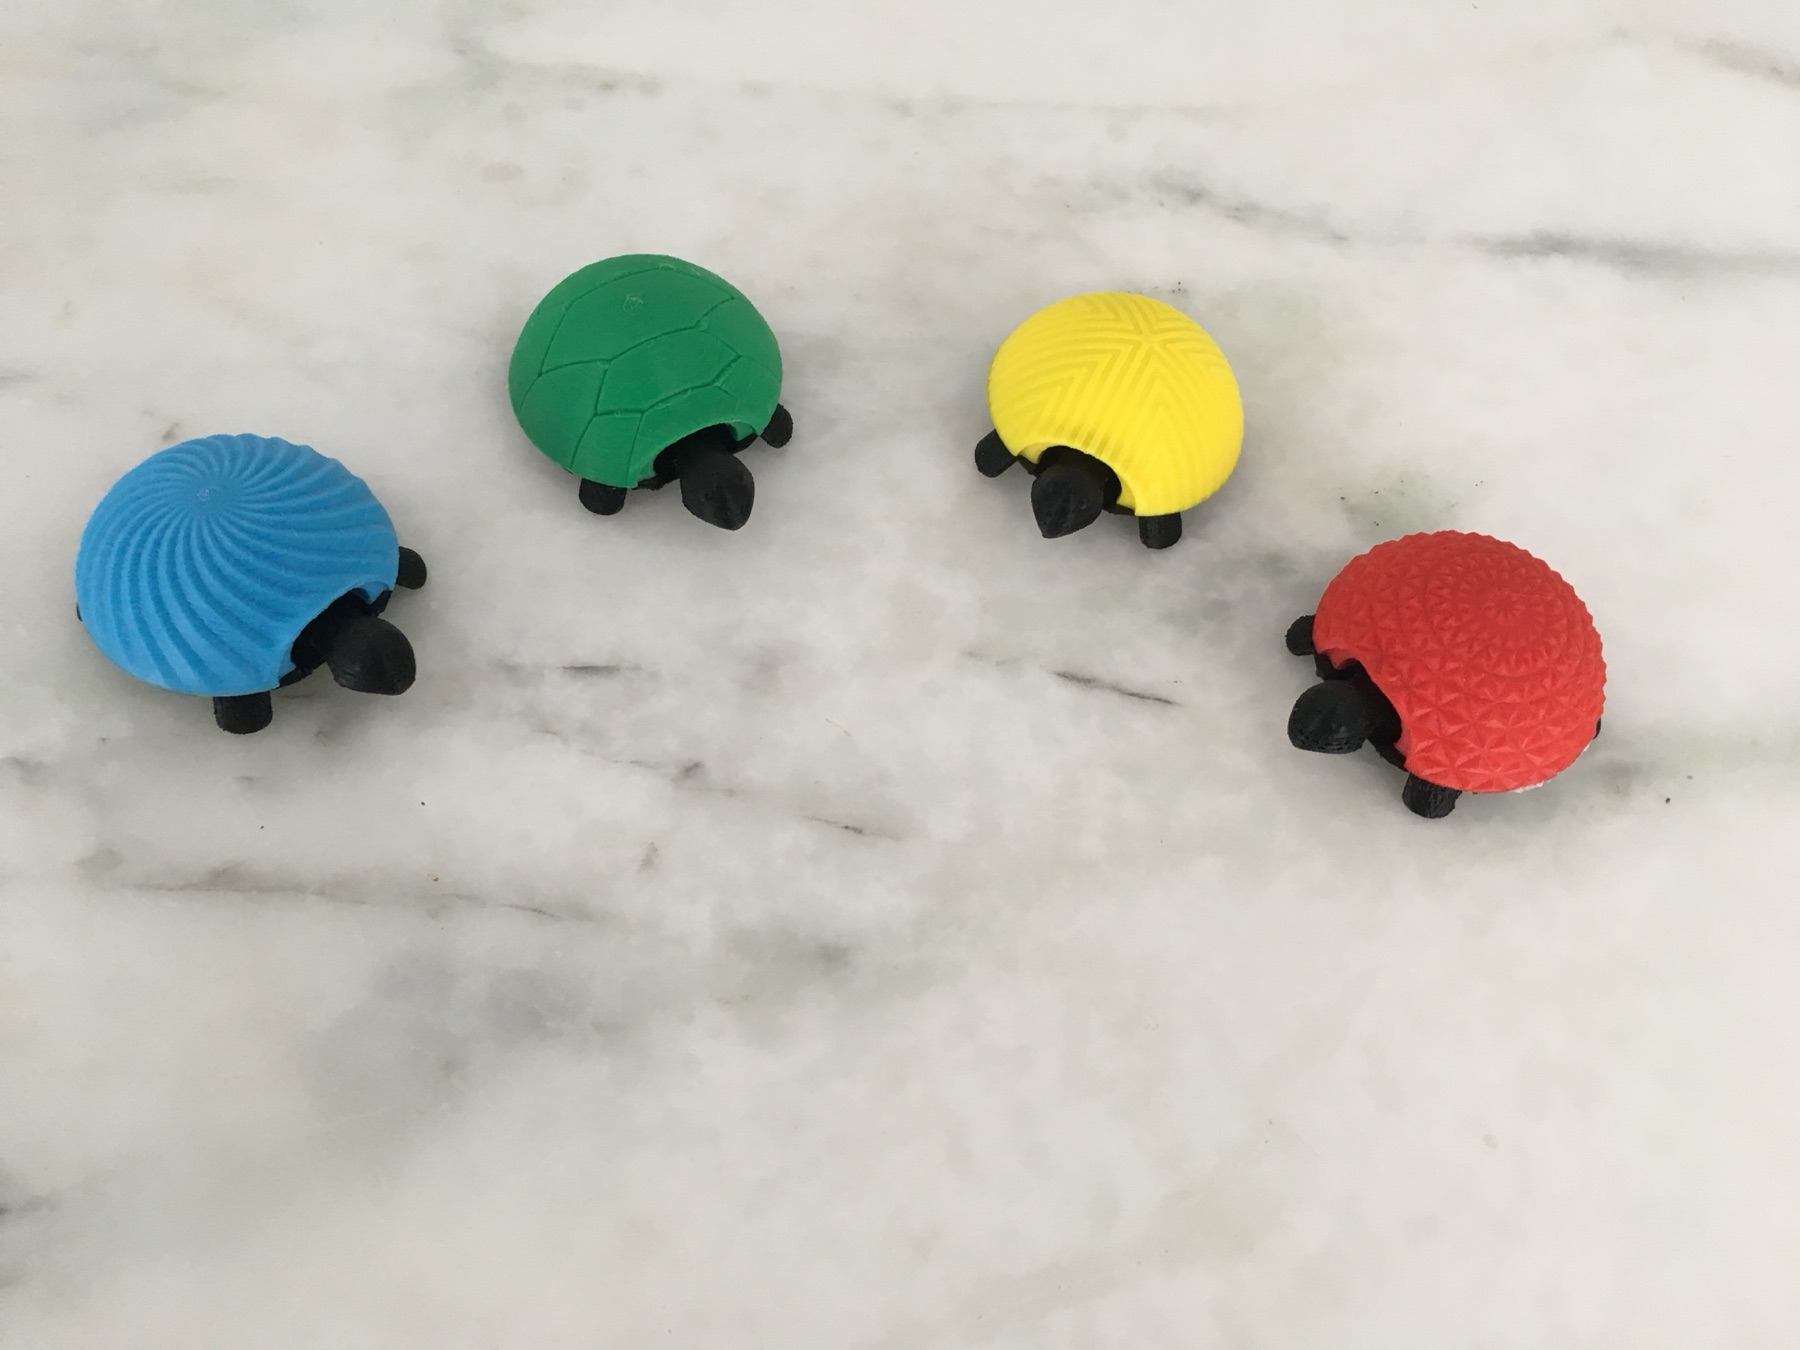
Squishy Turtle design by Thingiverse user jakejake
Mechatronics
In Competition
Samwise Gamg-E
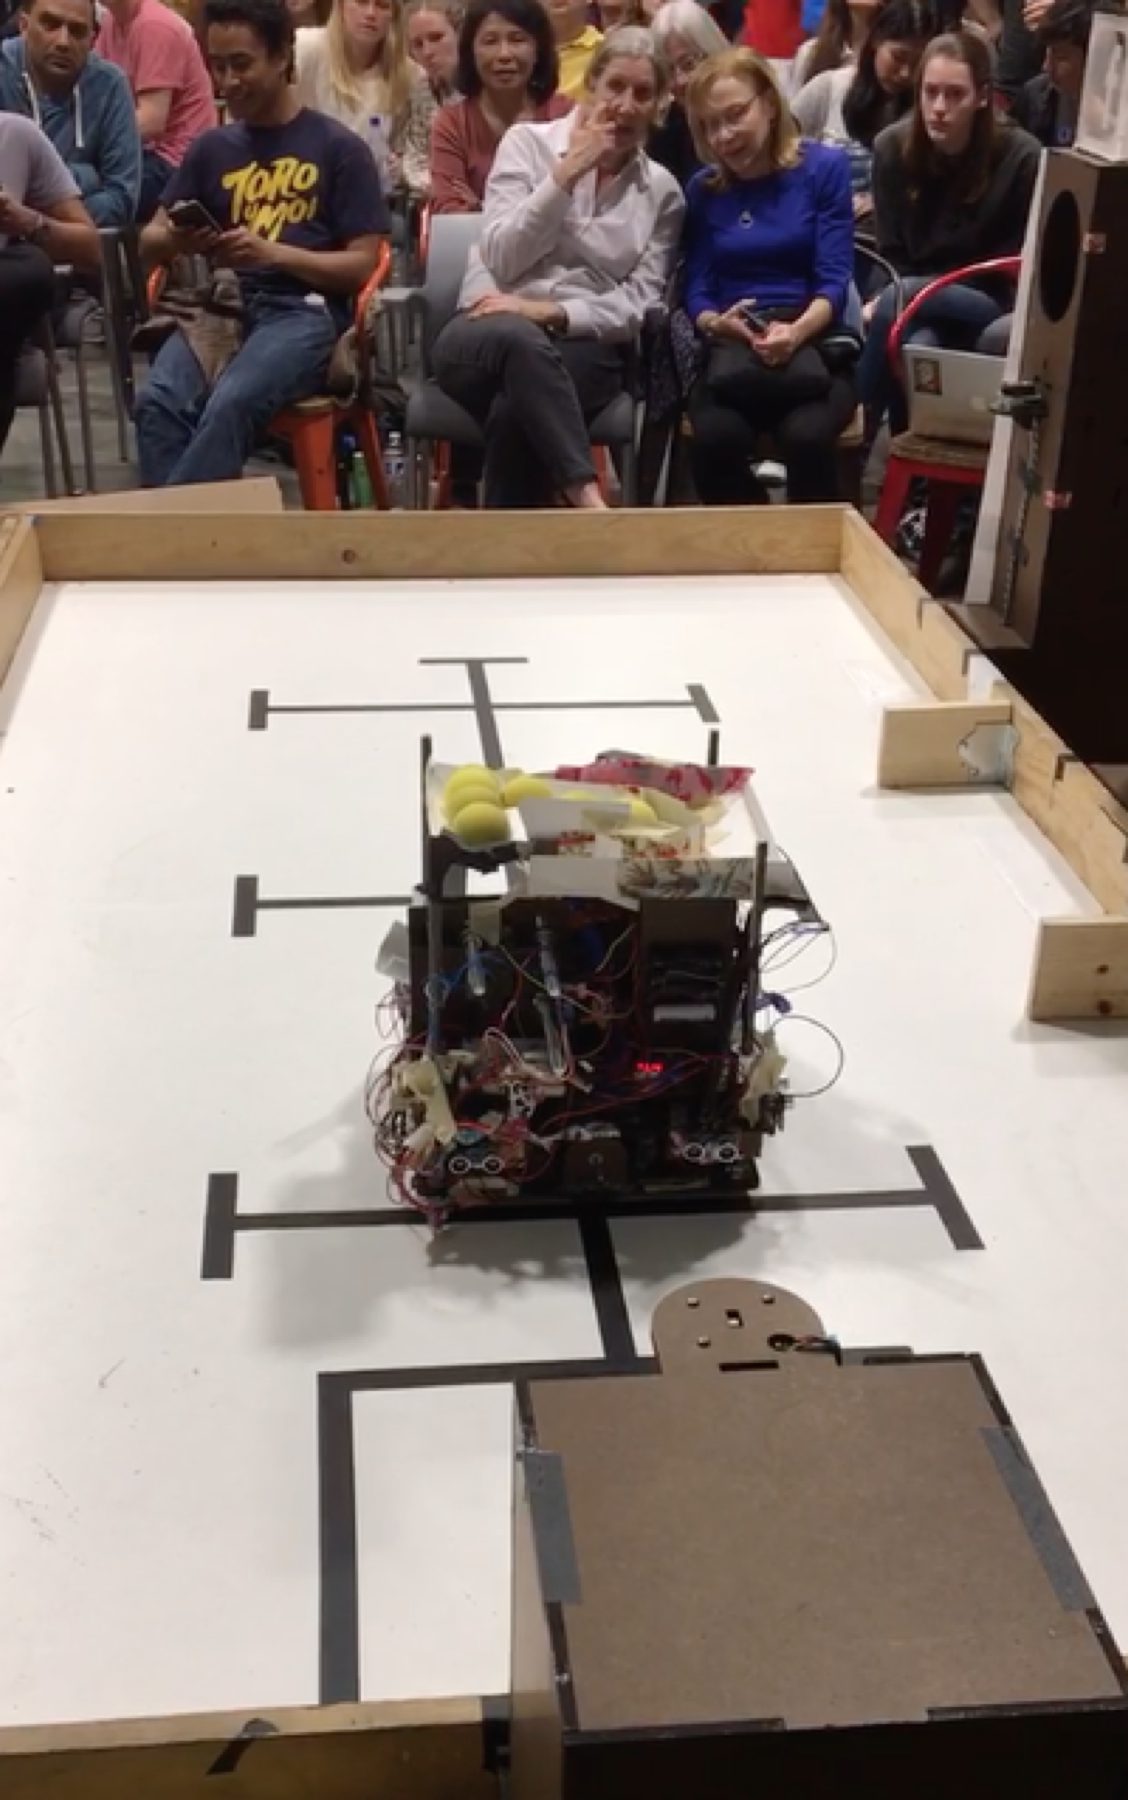
An autonomous robot that can navigate an arena using a variety of sensors, positioning and orienting itself to fire nerf balls through a 6" diameter hole roughly 8 feet away.
Duron and steel threaded stud frame. Various microcontroller, motor, navigation, hopper and firing system parts.
Laser-cut frame. Original design personally assembled, tested, and calibrated.
The class competition was performed in the spirit of the 2016 Presidential Election. Our competition in particular was meant to reflect the media war that took place in that election. As such, the website may refer to arenas as "media echo chambers," towers as "media sites," nerf balls as "alternative facts," and nerf ball blockers as "fact checkers." In this context, our project goal was to navigate our side’s echo chamber and fire as many alternative facts into the opposing side’s media sites as possible in order to "win" those media sites while fact checking our own towers to prevent the opposing team from firing alternative facts into our own sites. The side with the most sites won would be declared the winner after a little over two minutes. All robot contestants were required to fit within a 12" x 12" x 12" cube. Due to Stanford policy I cannot post the official class project description but you are welcome to ask me any questions.
Testing the firing mechanism to calibrate the flywheel height
Our first attempt at an orient function using ultrasonic sensors
First successful completion of all state transitions
Calibrating the firing system when mounted, in the arena
Testing all the incorporated subsystems
Testing different hopper designs to ensure better ball flow
Electronics
A "Useless Box"
A "useless box, " whose only function is to turn itself off. This redesigned version also taps out a message in Morse code before retiring.
Flipping the switch leads to a voltage change on one of the Arduino pins, causing the Arduino to power the stepper motor that controls the acrylic "finger" accordingly.
Class-designed frame and circuitry. Original program control design and implementation
LED Cube
A programmable LED cube that takes advantage of multiplexing to gain individual control over each LED
An Arduino allows the user to select which LEDs to power on and off. The logic voltages produced by the Arduino control mosfet gates such that the Arduino is not directly powering the cube, preventing current overdraw.
Class design. Original program control design and implementation
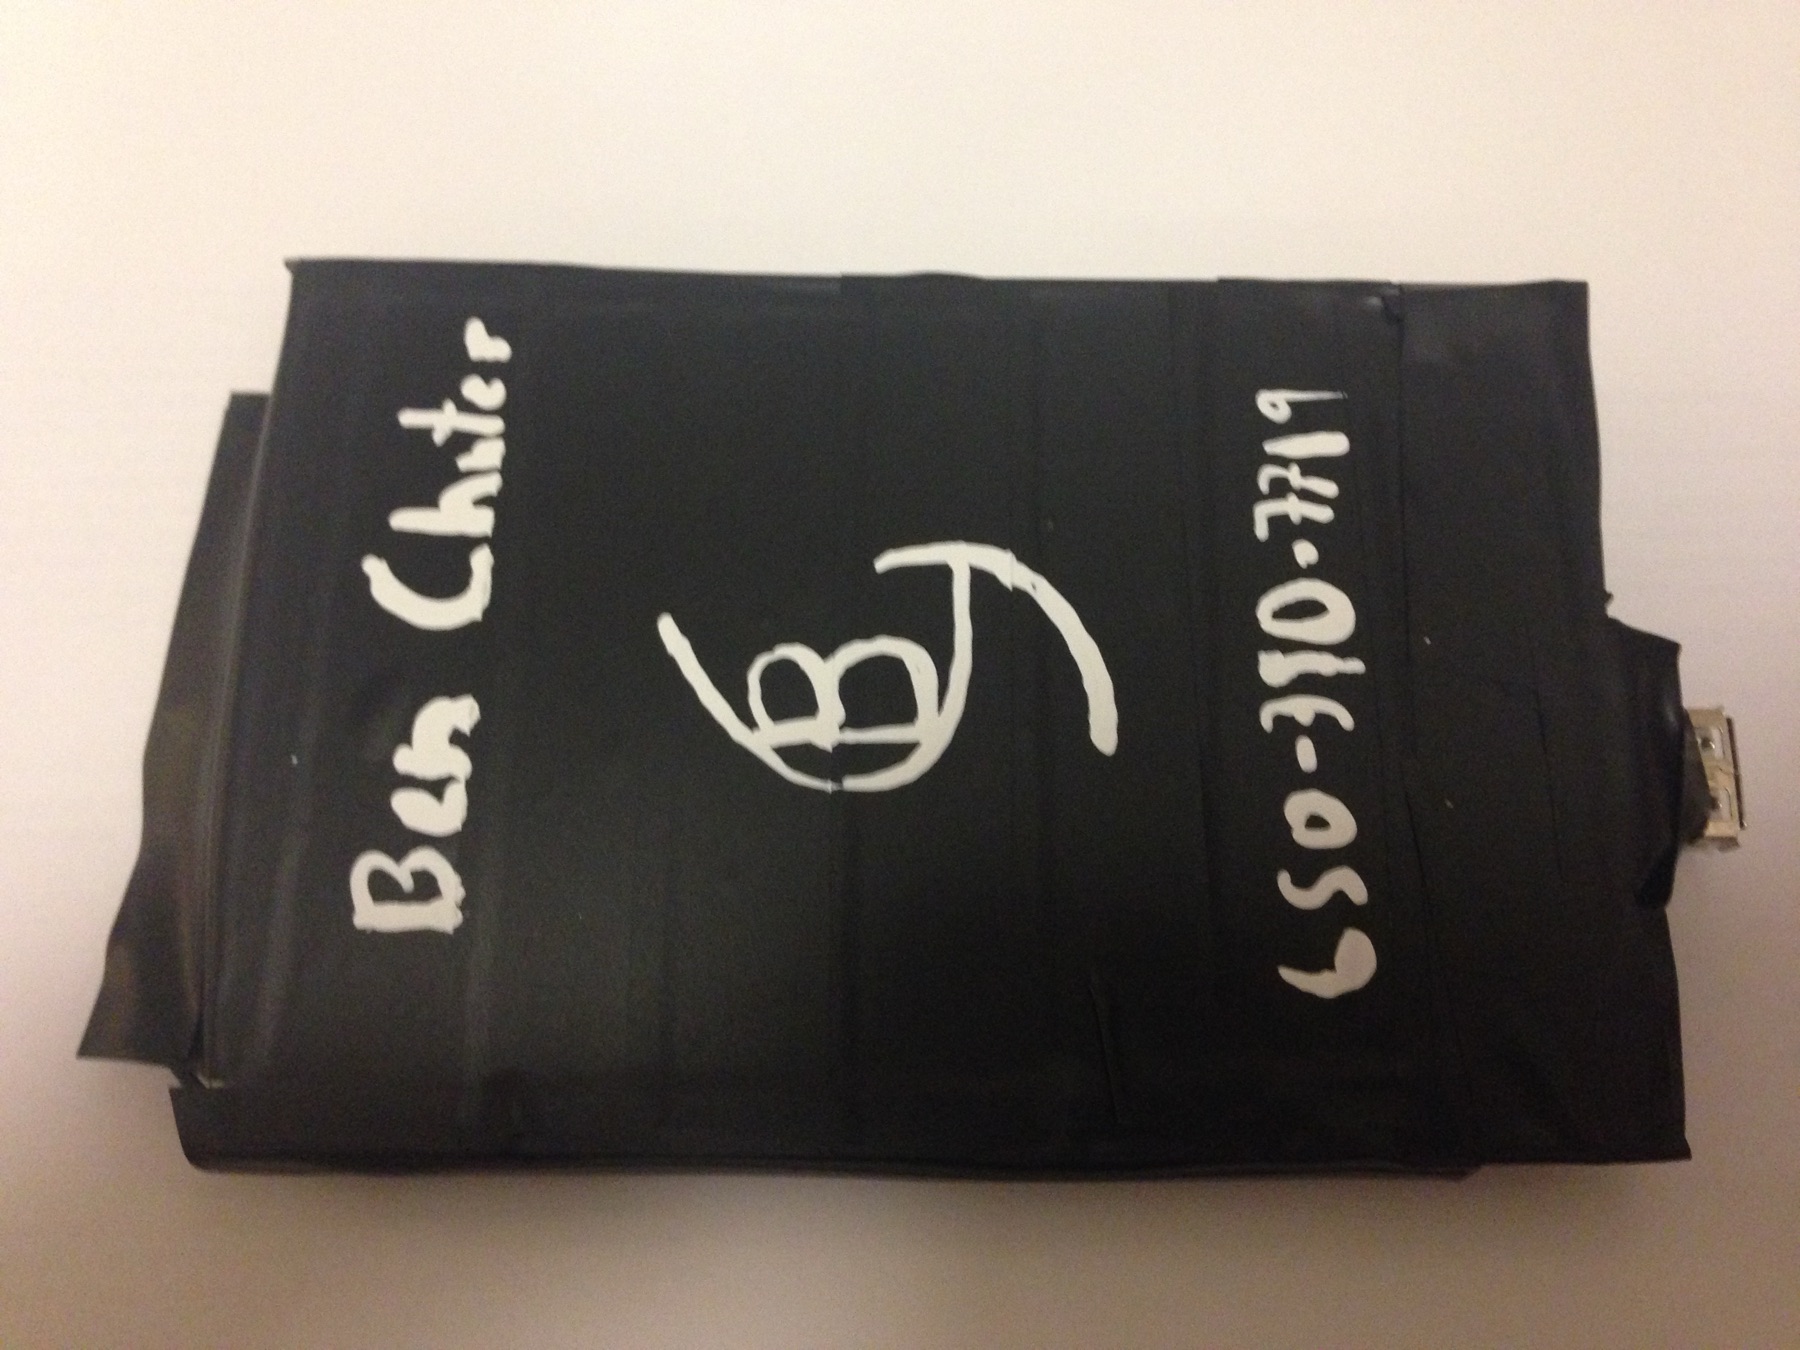
Private contact information obscured
Solar-powered USB Charger
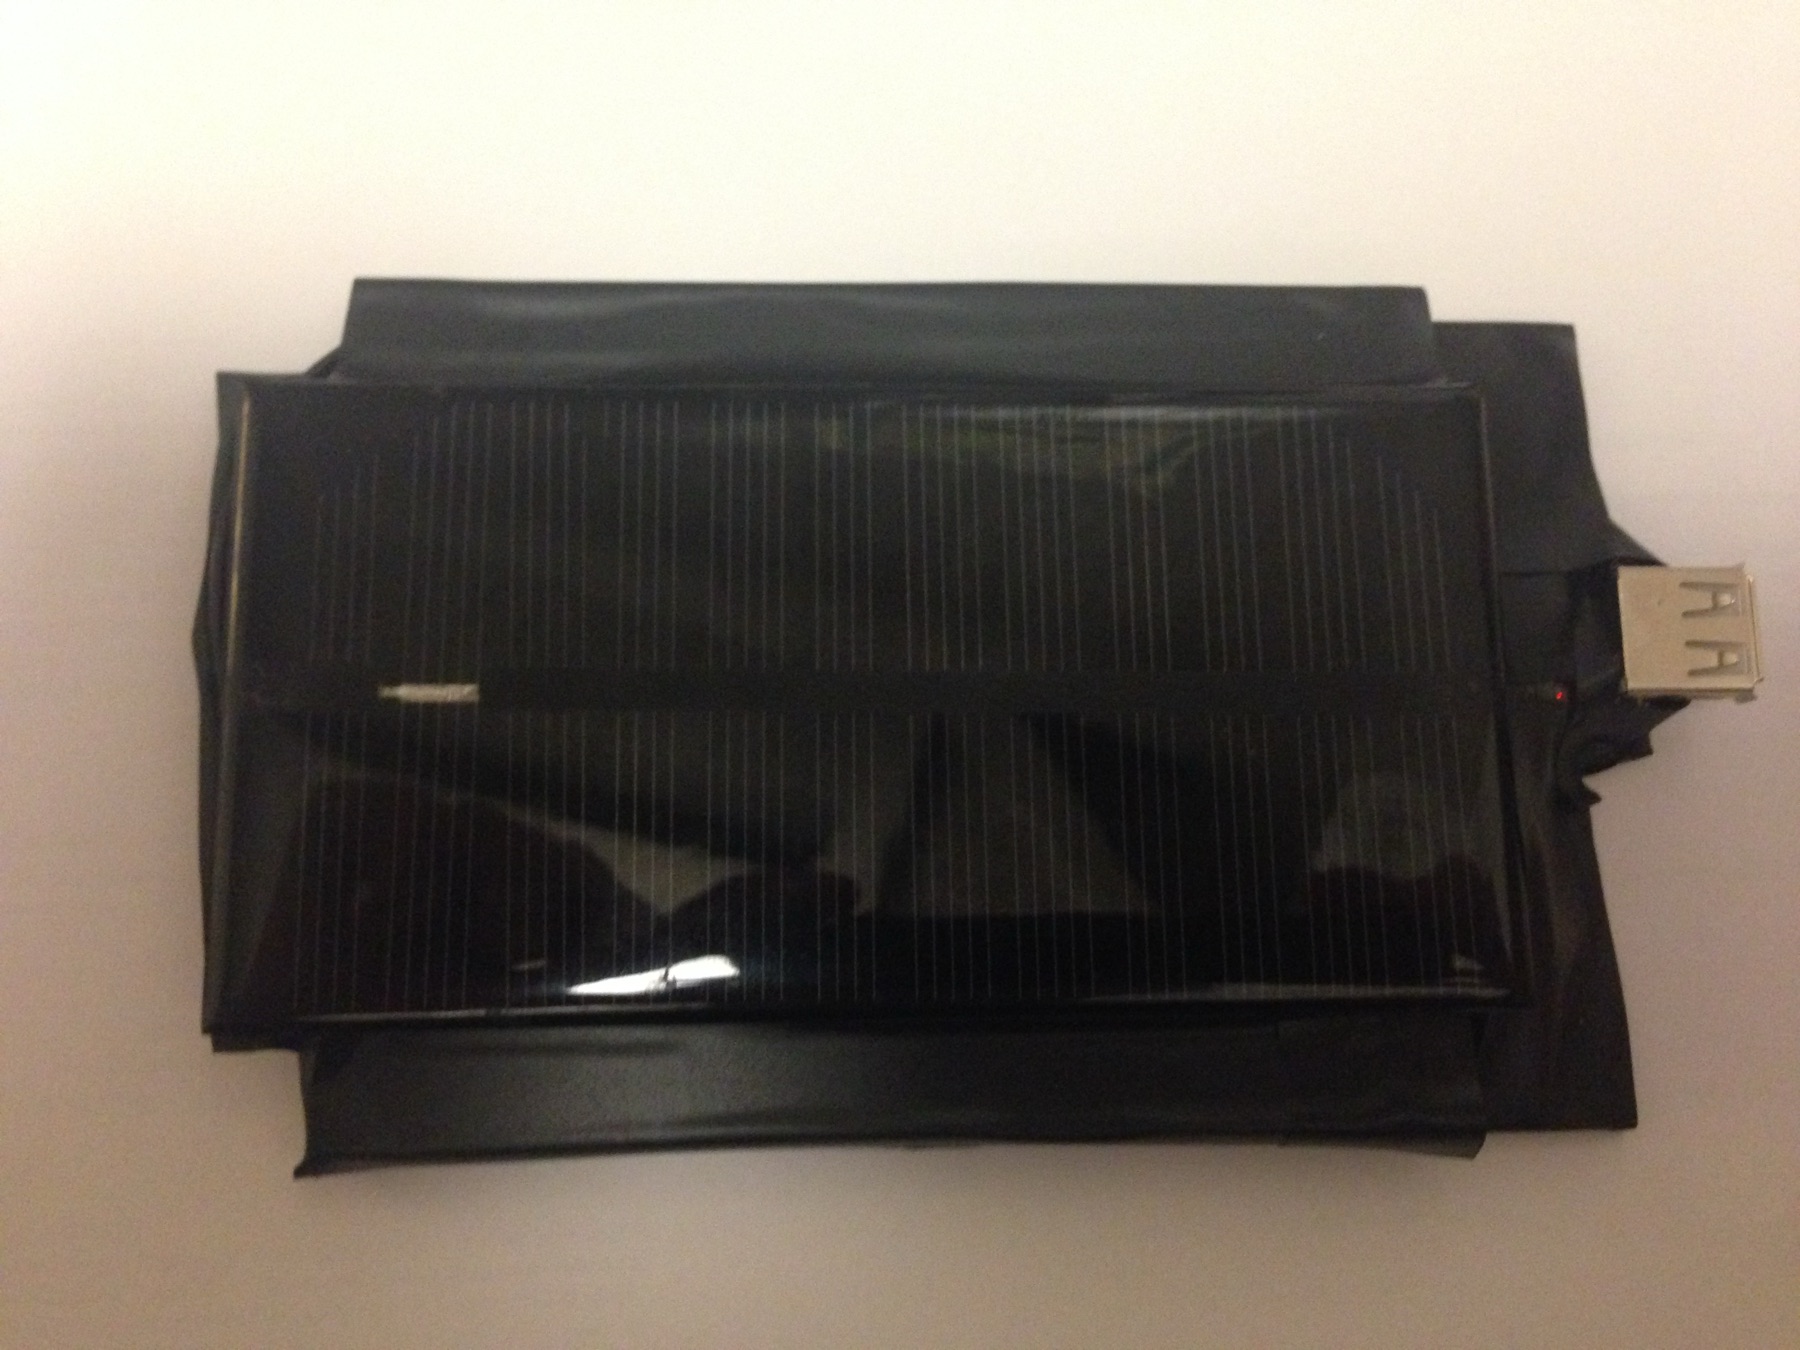
A solar-powered USB charger that enables mobile device charging
A small solar array charges a lithium ion battery which may be used to power a mobile device by USB.
Class design
EKG
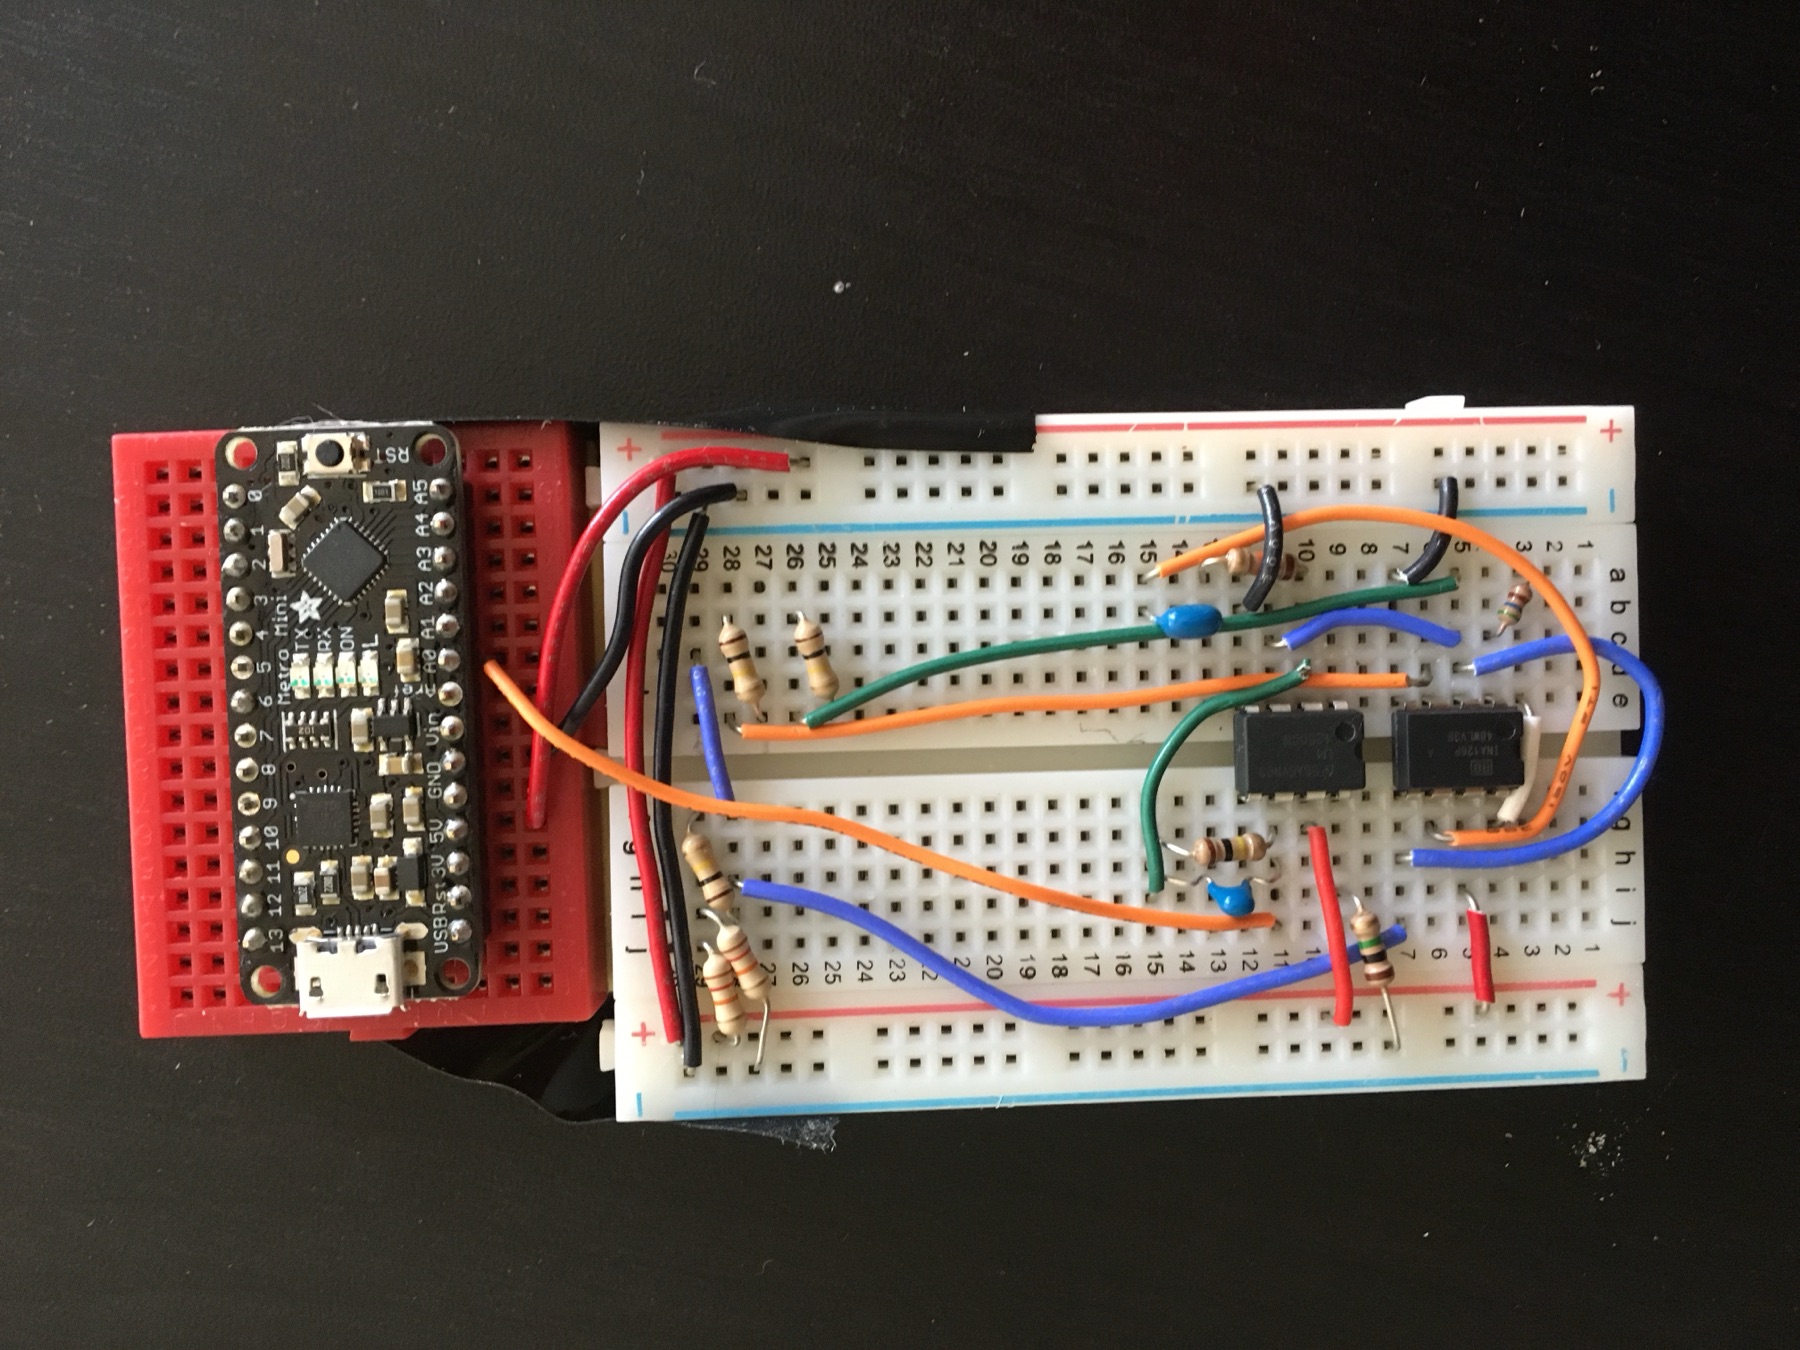
EKG circuitry using an instrumentation amplifier and an operational amplifier to produce computer-displayable heart electrical signals when connected to electrodes in electrical contact with two separate body locations.
Class design
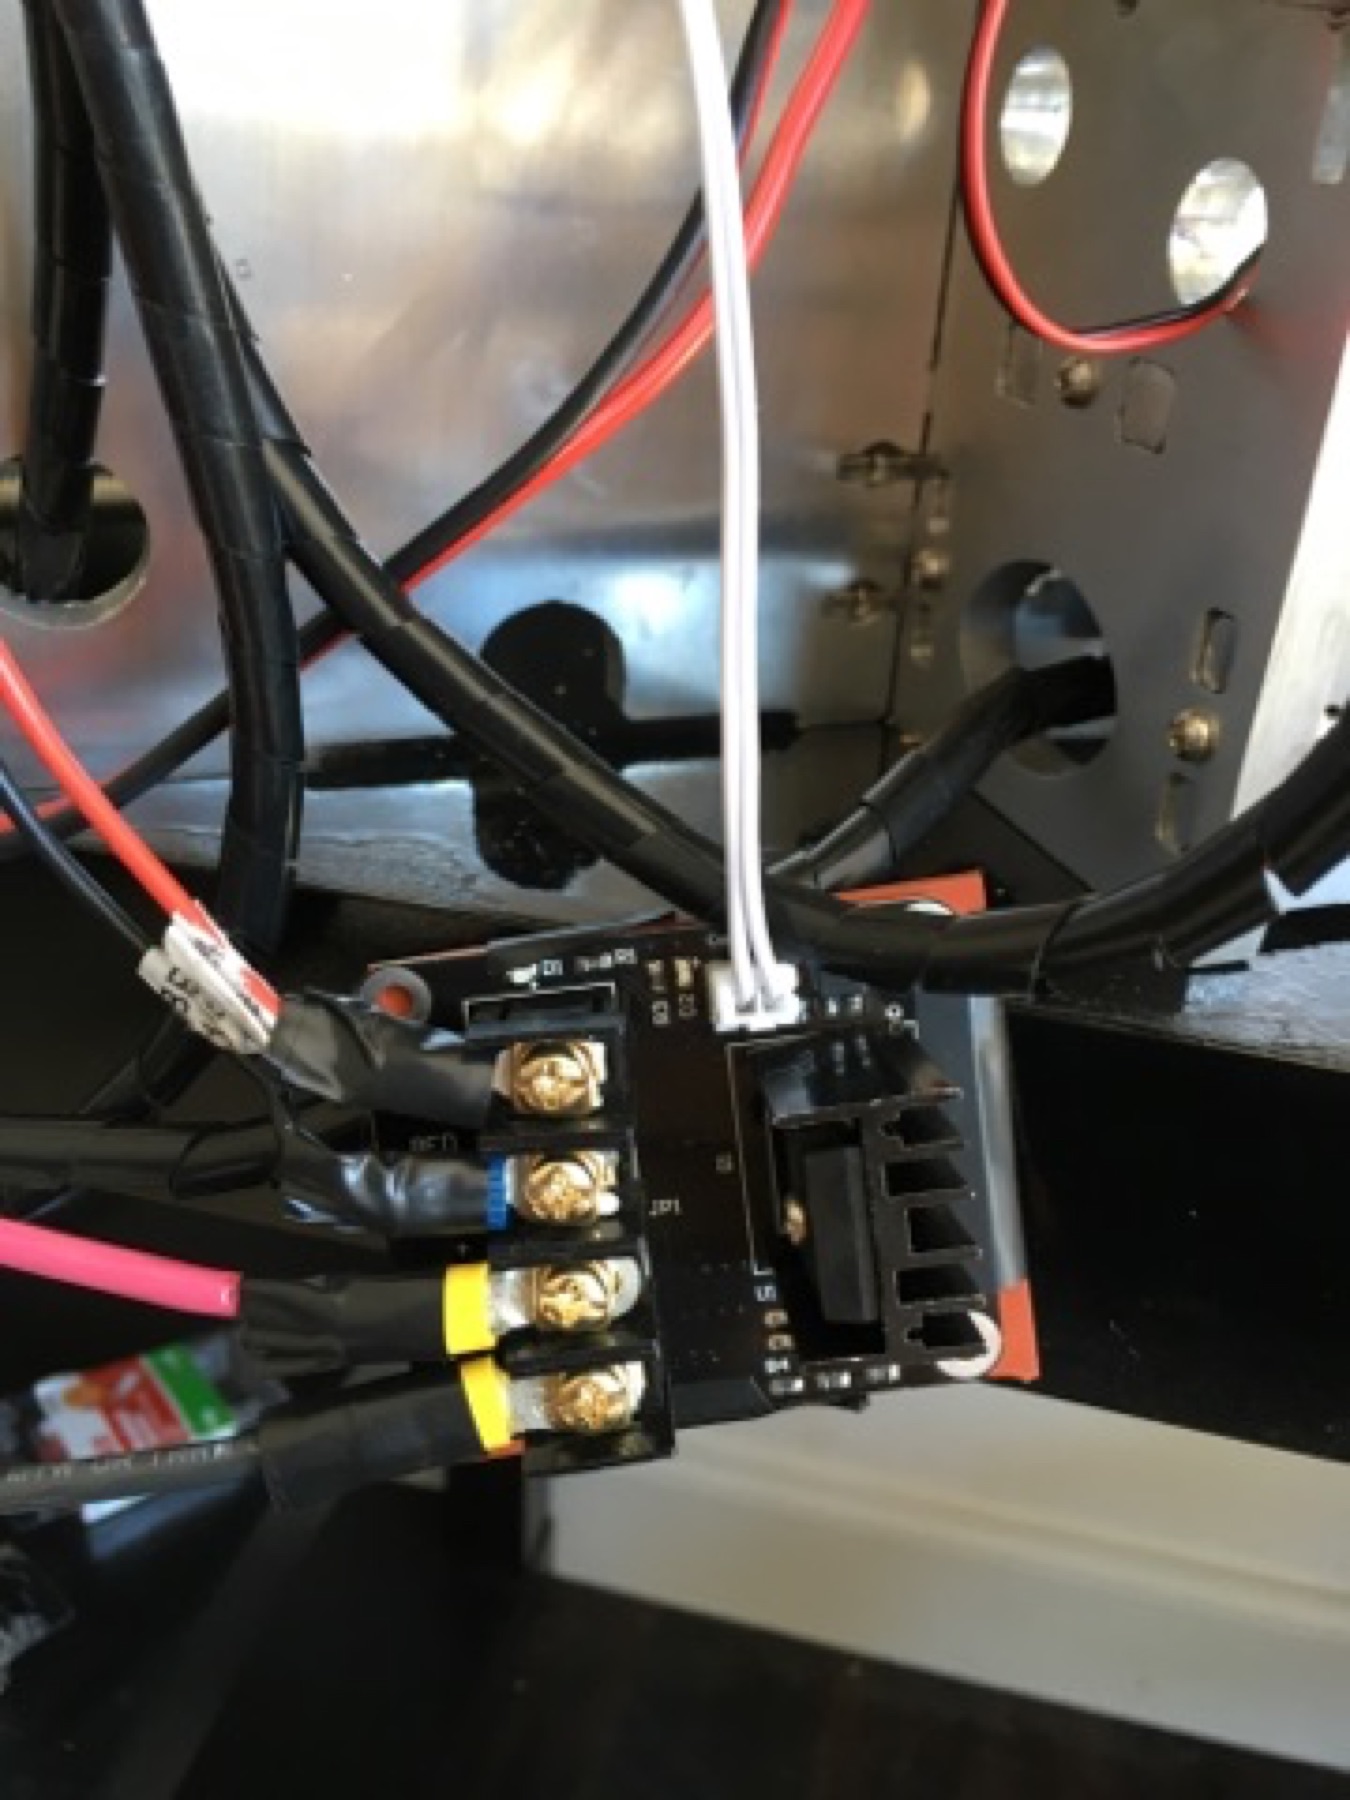
3D Printer Dual Mosfet Modification
The original electronics assembly that I used for my NinjaSlice 3D printer directed all current flow through the circuit board. To reduce the resulting stress on the circuit board I added a pair of mosfets.
These mosfets redirect the 15 amps needed for the heat bed and extruder through their own boards, which can not only better handle the current but are also less expensive to replace. I also replaced the stock 16 gauge wire with 12 gauge wire that can handle the current more reliably.
One of the mosfets prior to being secured to the frame
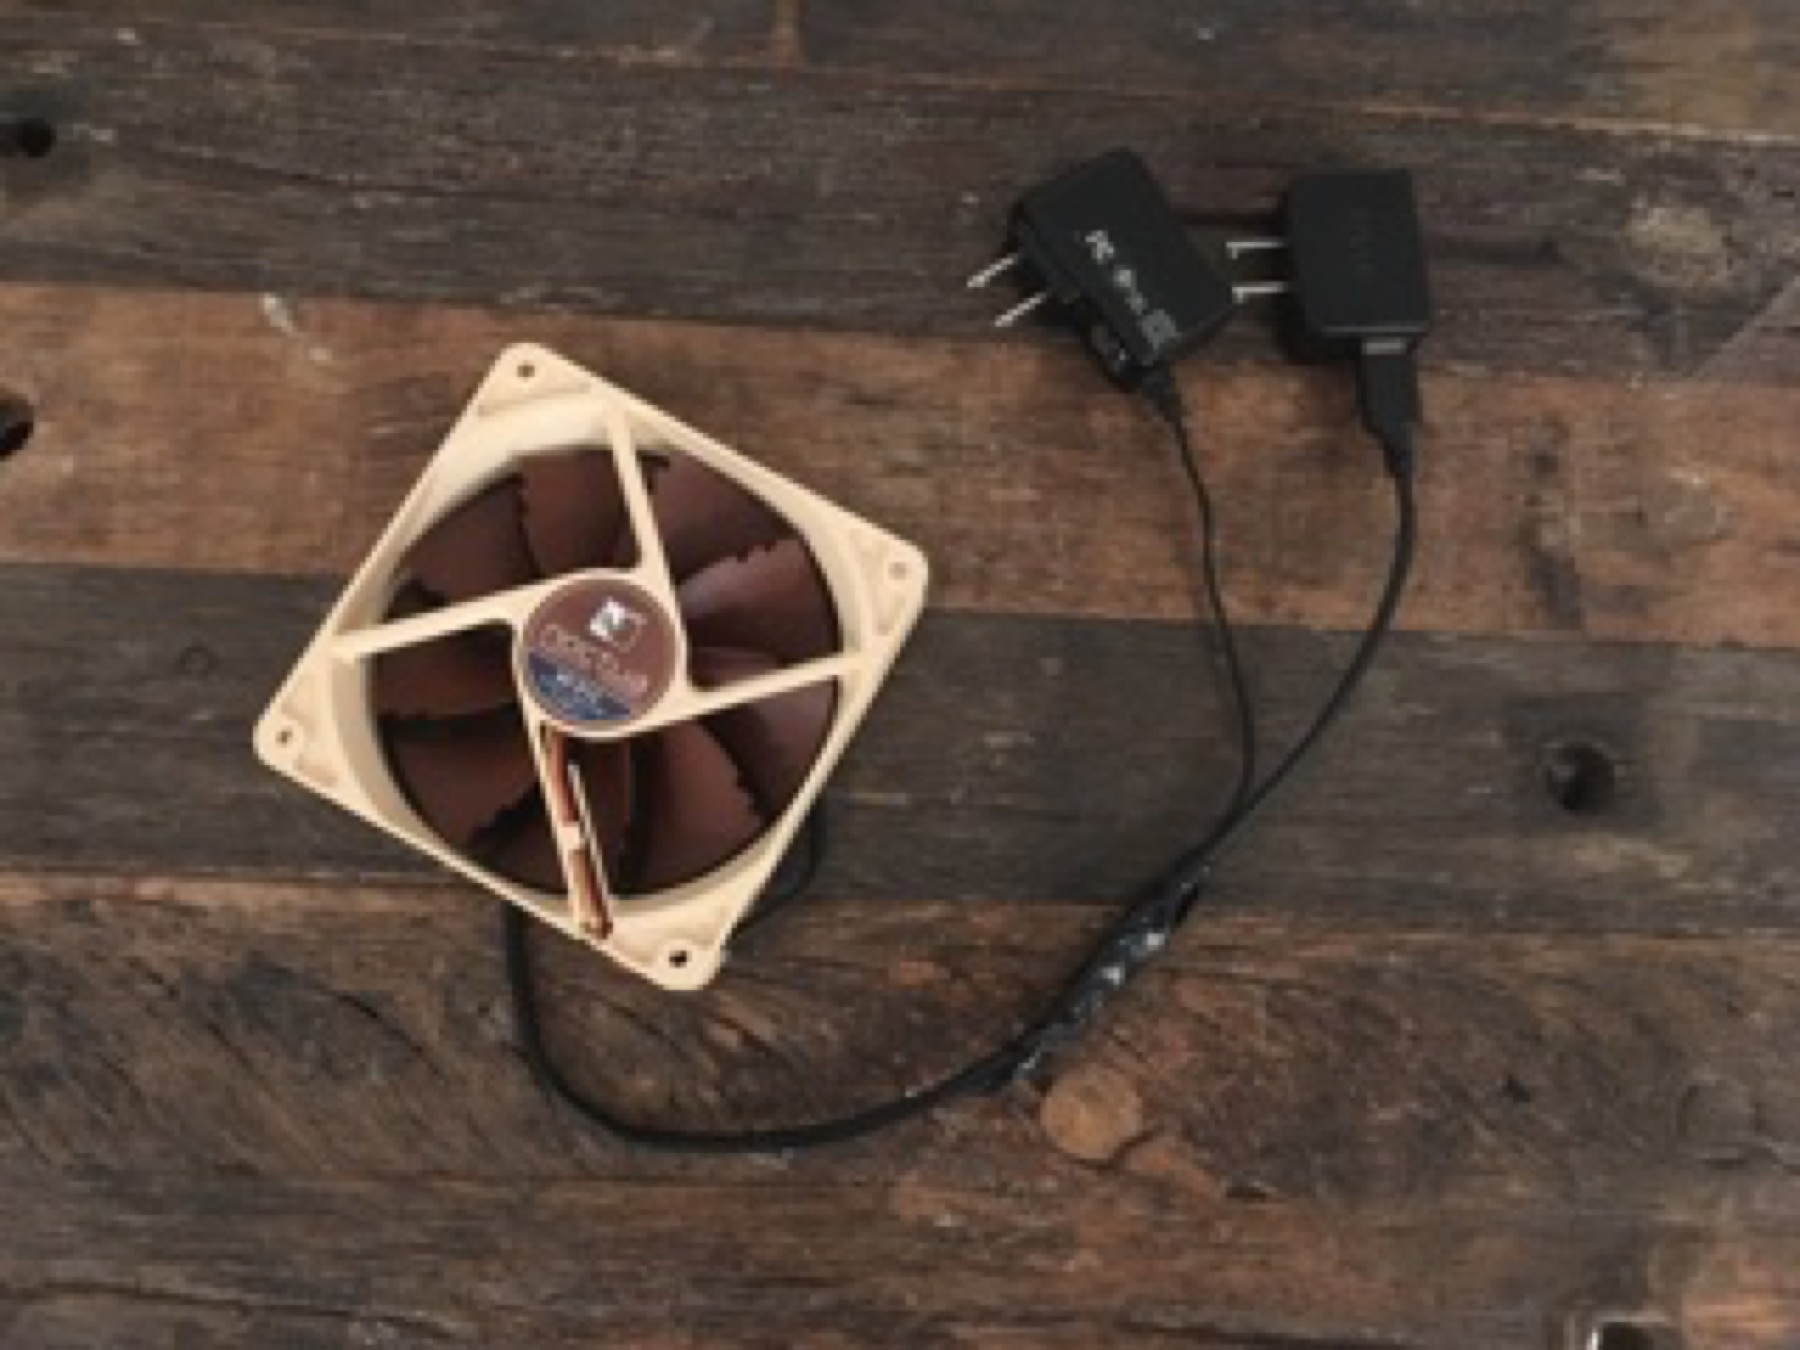
3D Printer PSU Cooling Fan
To cool my NinjaSlice 3D printer's power supply unit and prolong its effective lifespan I decided to add a cooling fan.
I spliced a pair of old phone chargers with appropriate amperage and voltage ratings to a computer fan and mounted the assembly directly adjacent to the power supply unit.
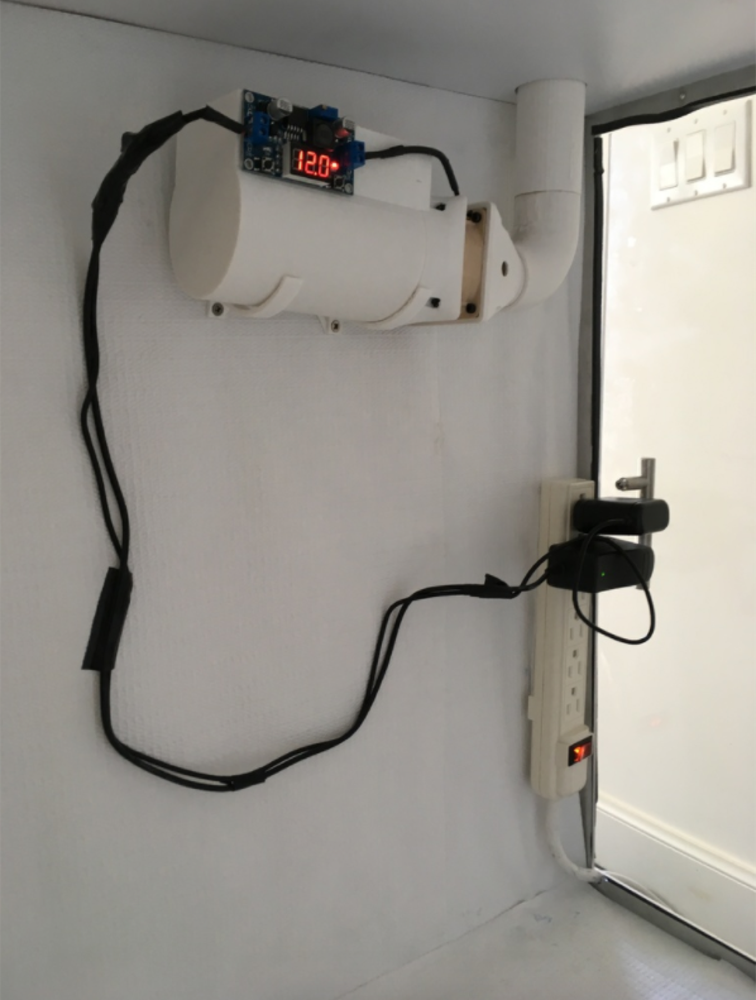
3D Printer Air Filtration System
3D printers are known to produce low levels of volatile organic compounds (VOCs) and ultra fine particles, especially when printing at higher temperatures.
To limit exposure, I adapted the "Hepa Filter for 3D Printer" by Thingiverse user jmillerfo for use with my 3D printing enclosure, extending the output vent and opting to use a pair of spliced phone chargers and a buck converter instead of a separate power supply unit.